
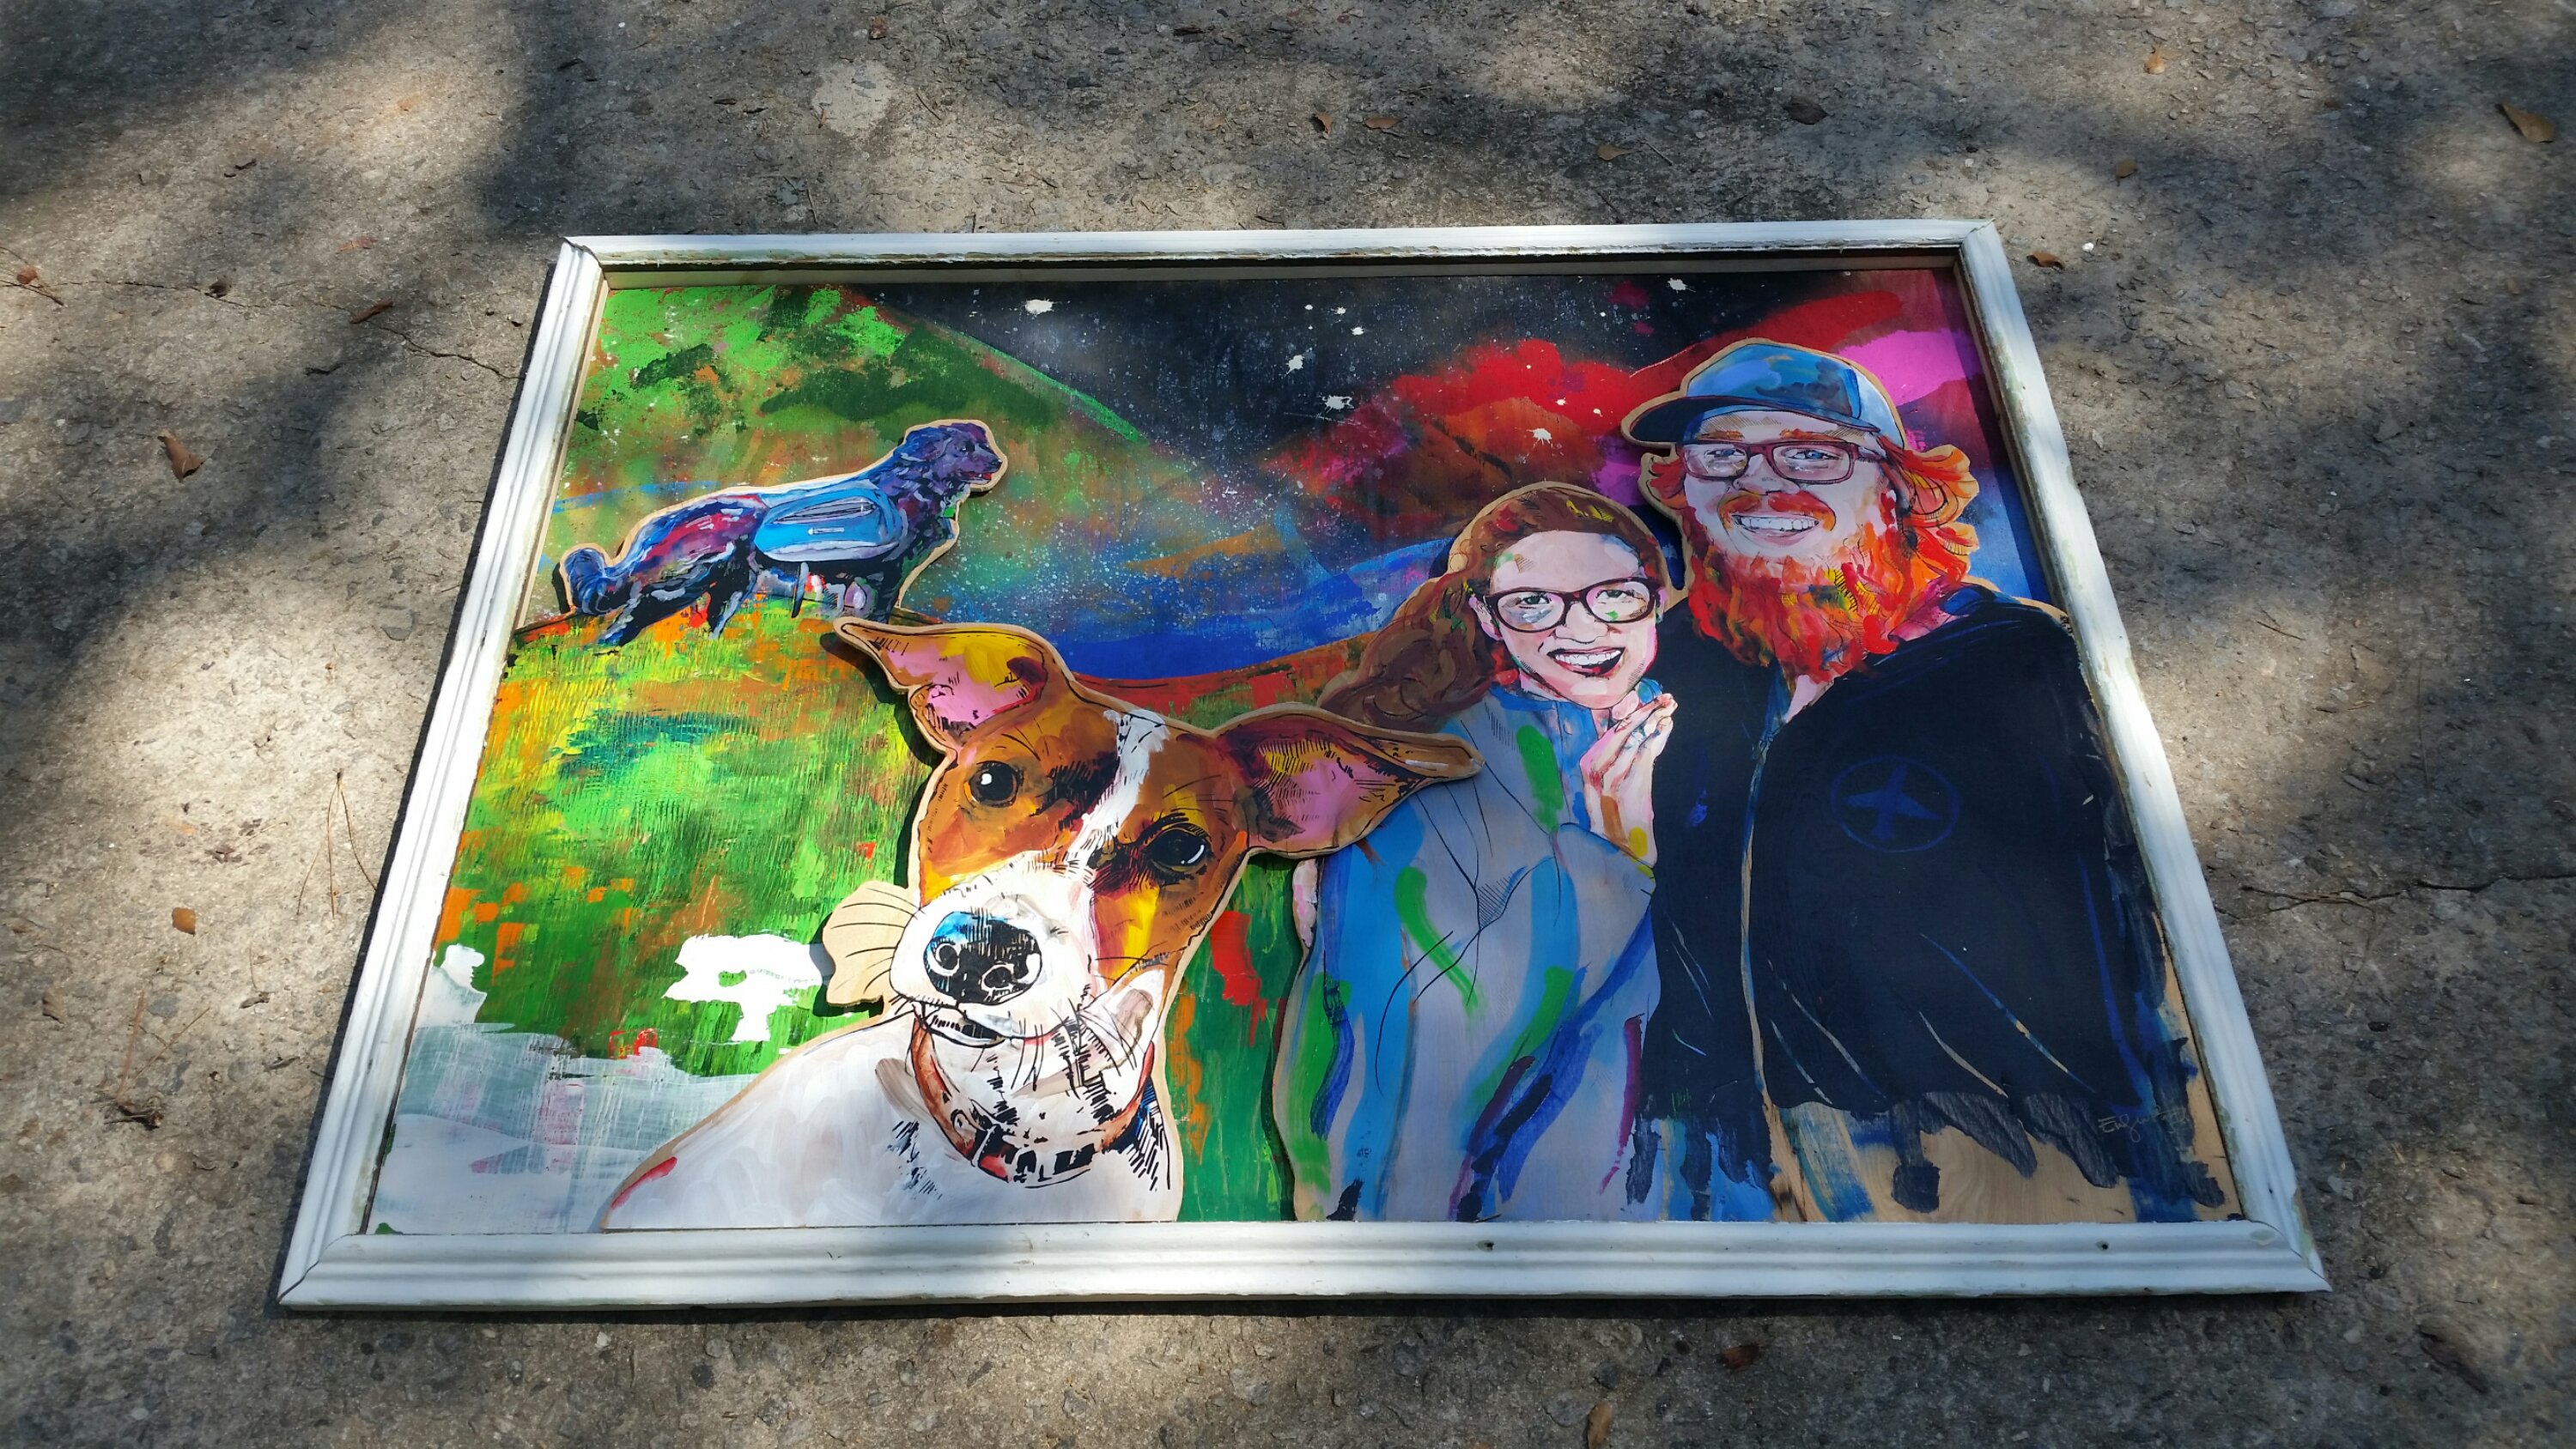
For our 8th anniversary this year, Christy and I commissioned a large, non-traditional family portrait from an awesome Atlanta artist, Eugene Byrd. We had seen his work at a gallery show in College Park and were really impressed with his style.
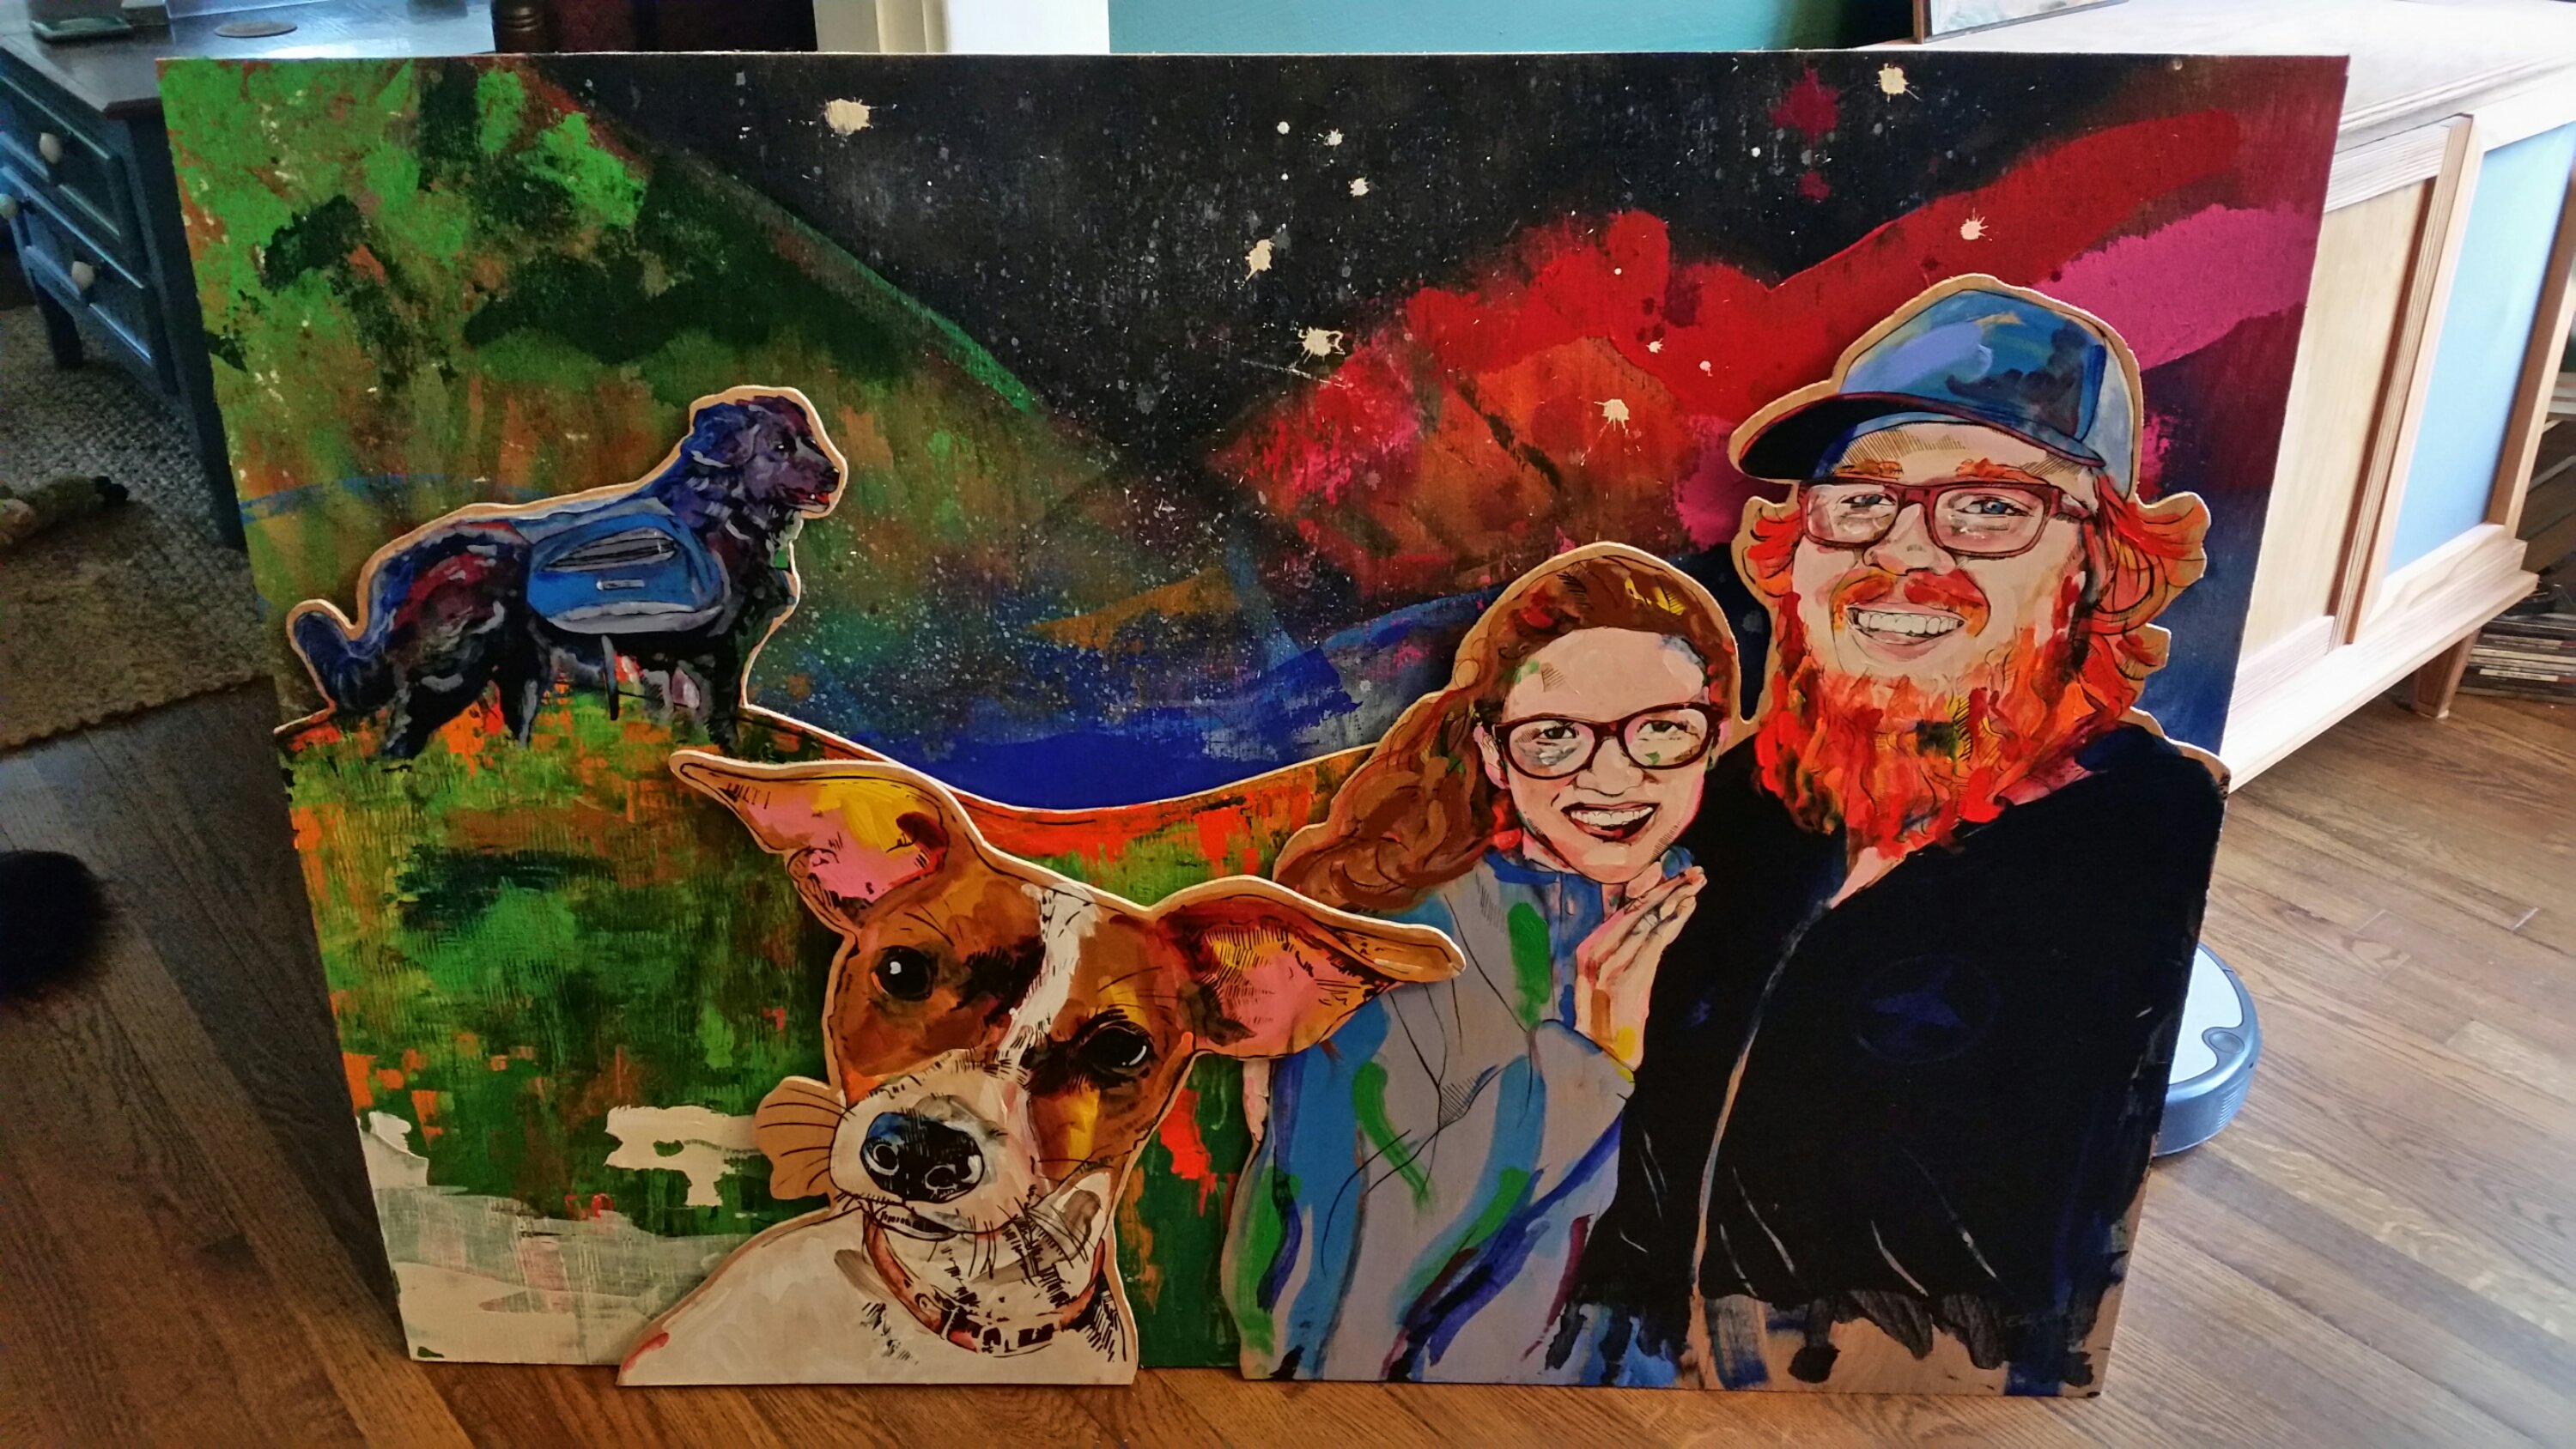
Since I have some experience with building frames, I chose to buy the piece unframed to save some money. On the suggestion of the artist, I planned to frame it in a black frame, but decided to use the foot molding we removed from our breakfast nook during its remodel a few weeks ago.
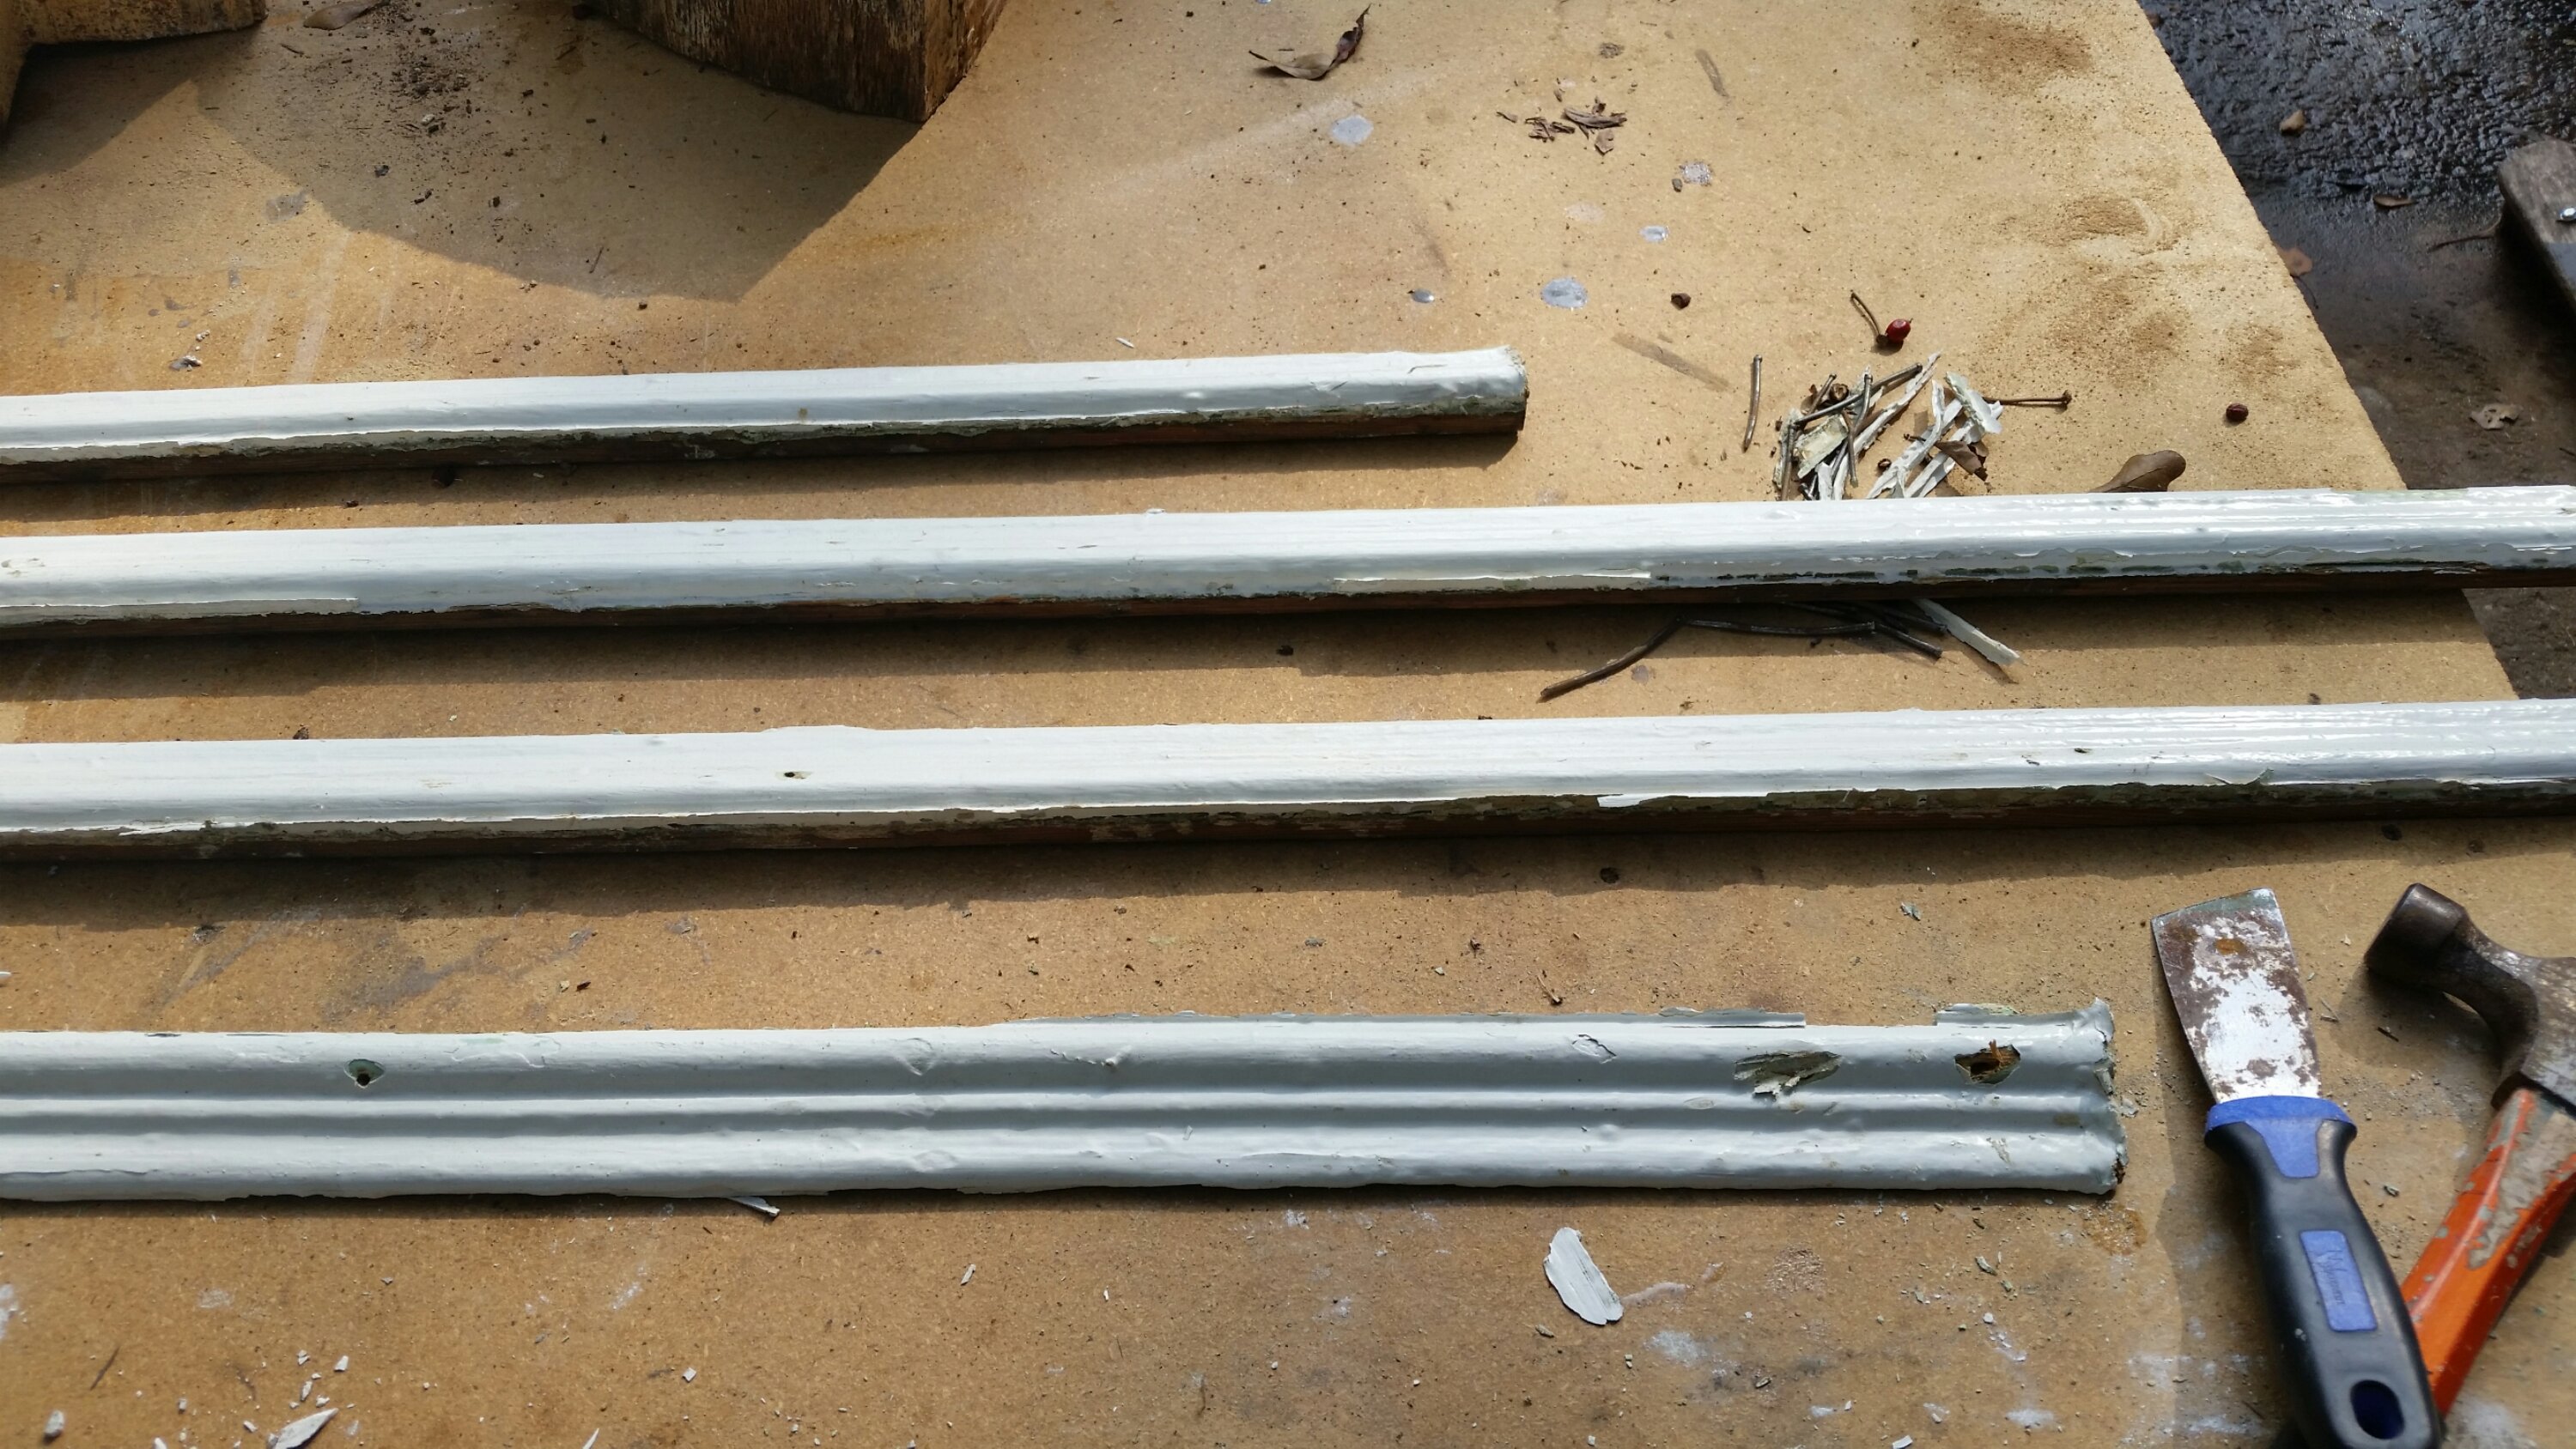
My first step was to remove all of the nails from the molding. Then, using a scraper, I removed all of the excess paint and caulk. This is, by far, the most tedious and messy part of using reclaimed materials for any job.

After the caulk and poor quality paint was removed, I measured and cut the molding into the appropriate lengths for the art piece. In this case, that was about 4 feet by 3 feet. You’ve got to measure every side for something like this because, as in the case of this art piece, the parallel sides are not always the same length, even though the original material was never cut.
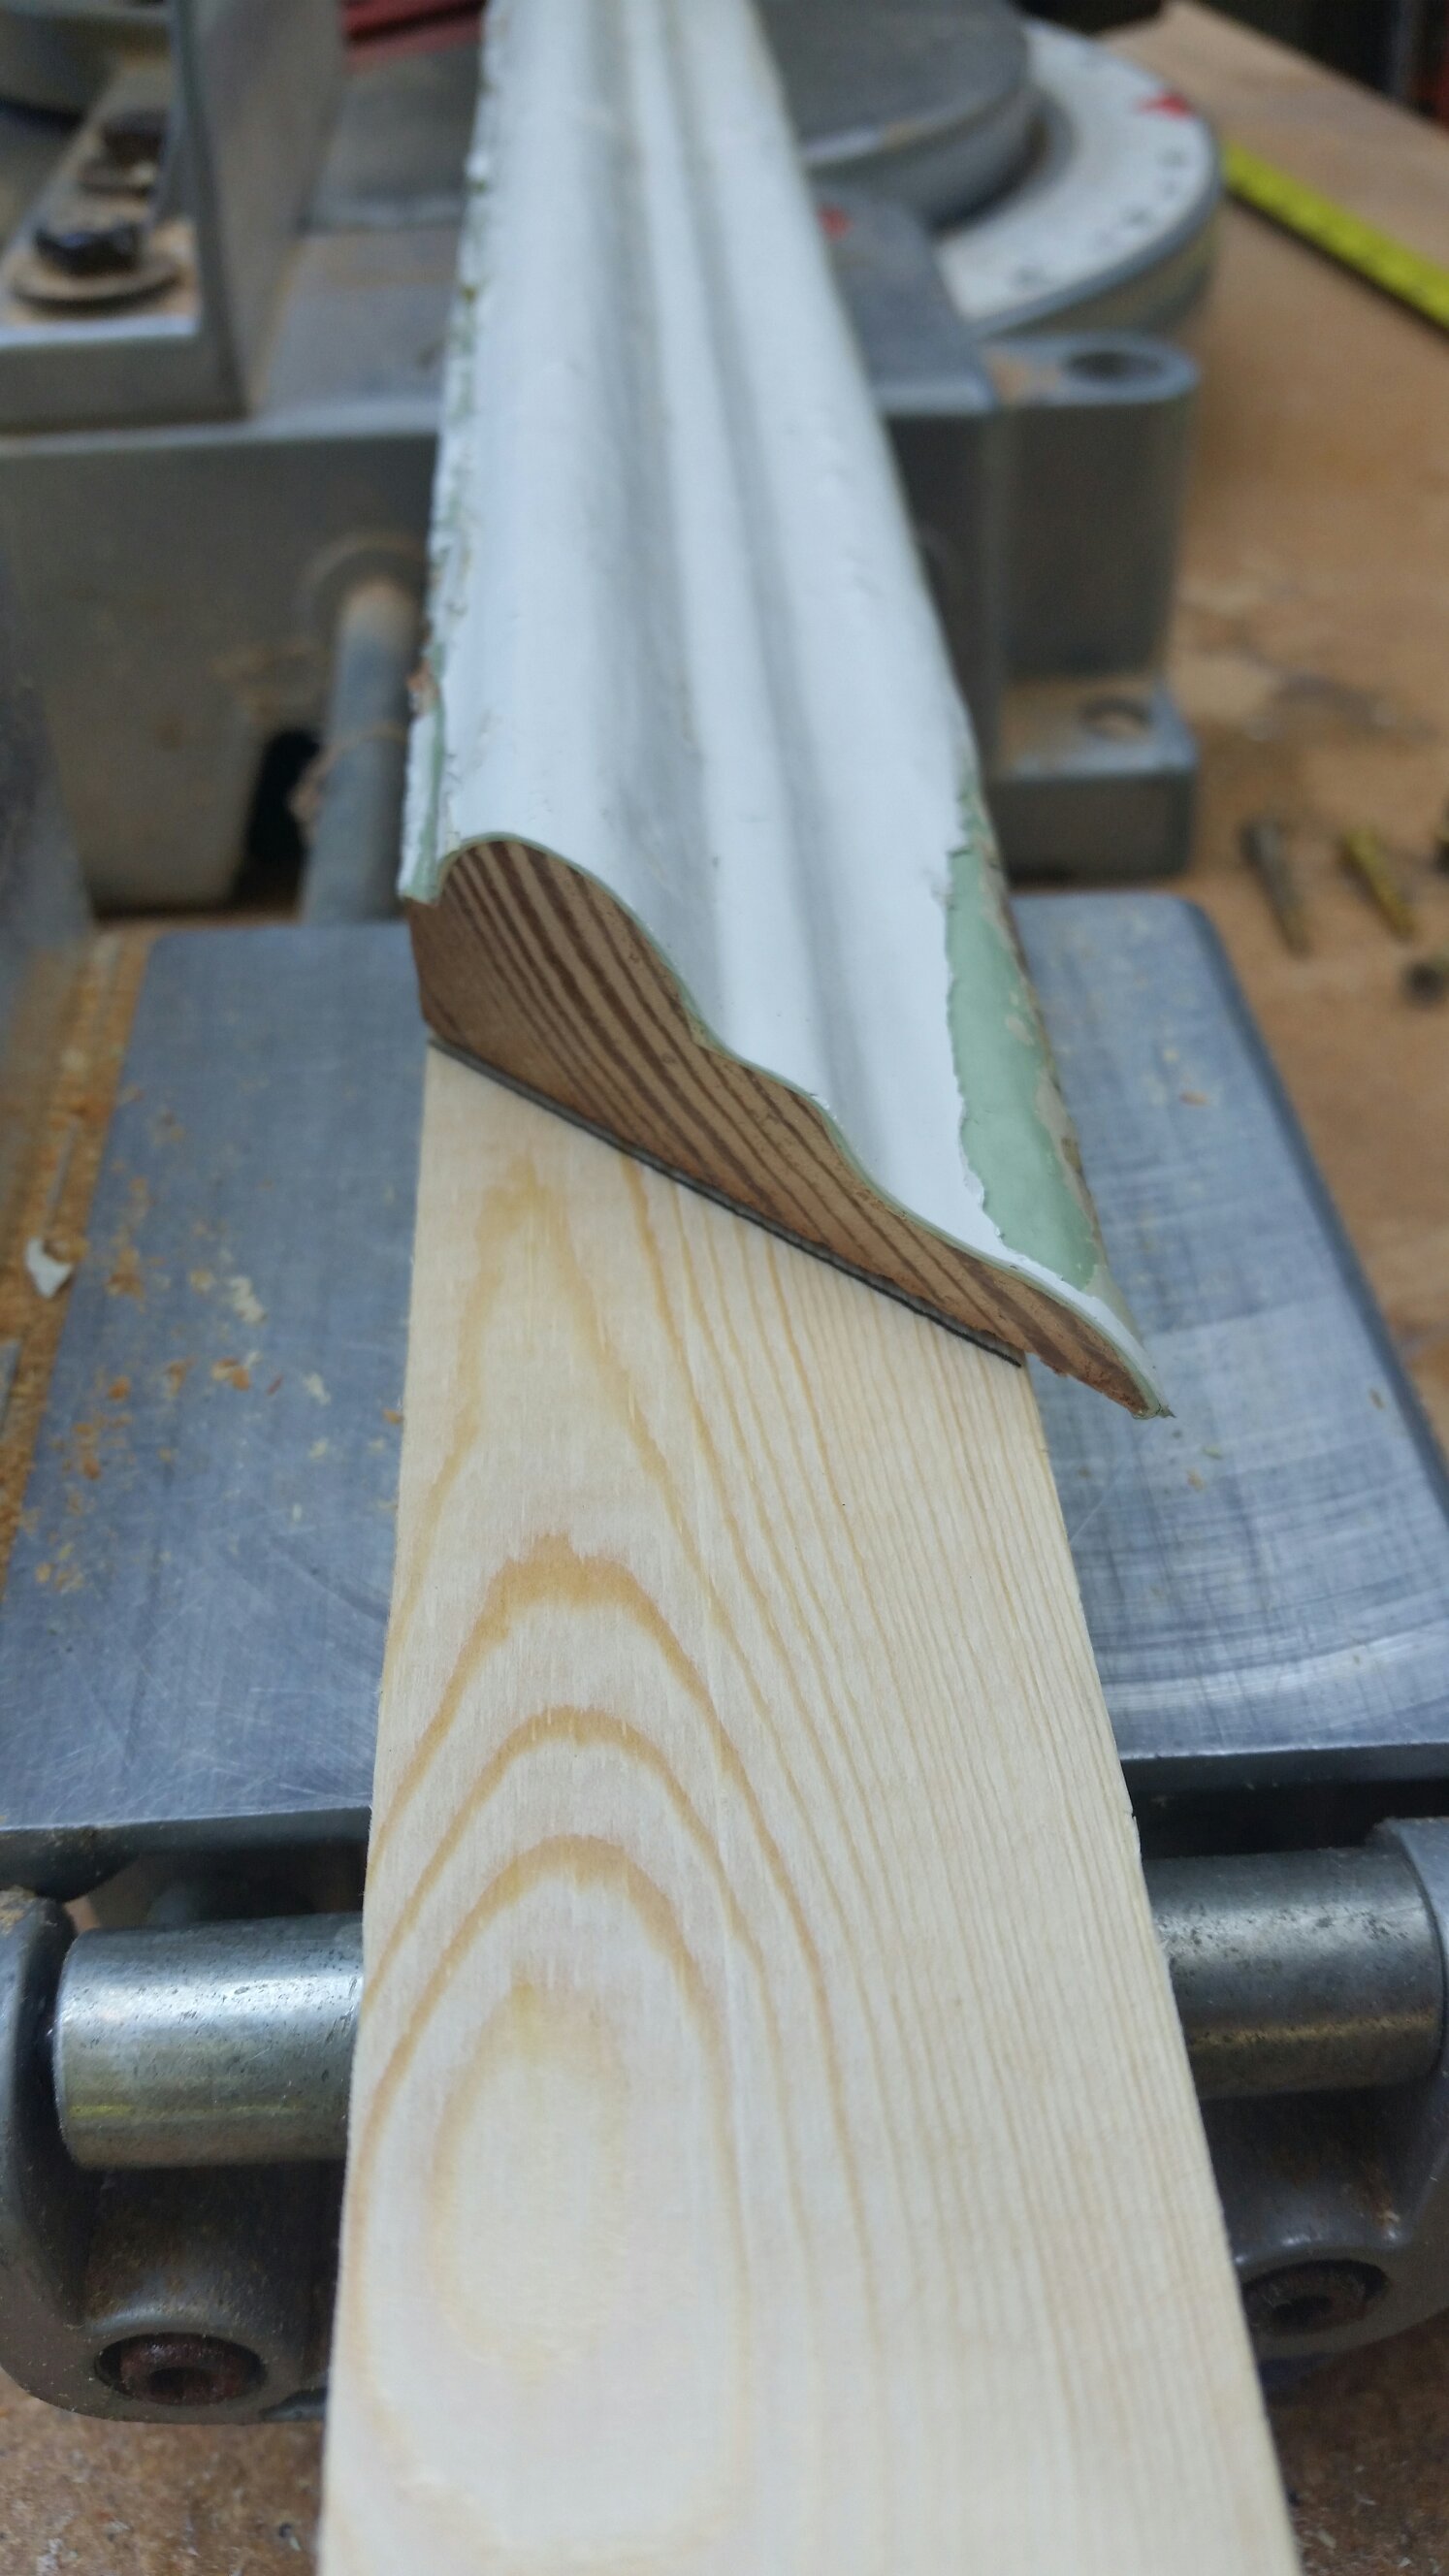
The photo above shows how I had to cut pine 1×2 stock to the same dimensions as the old molding. I did this because the artwork is a full inch thick at the bottom, making a single piece of molding not thick enough to properly encompass the art. The pine made the frame thick enough.
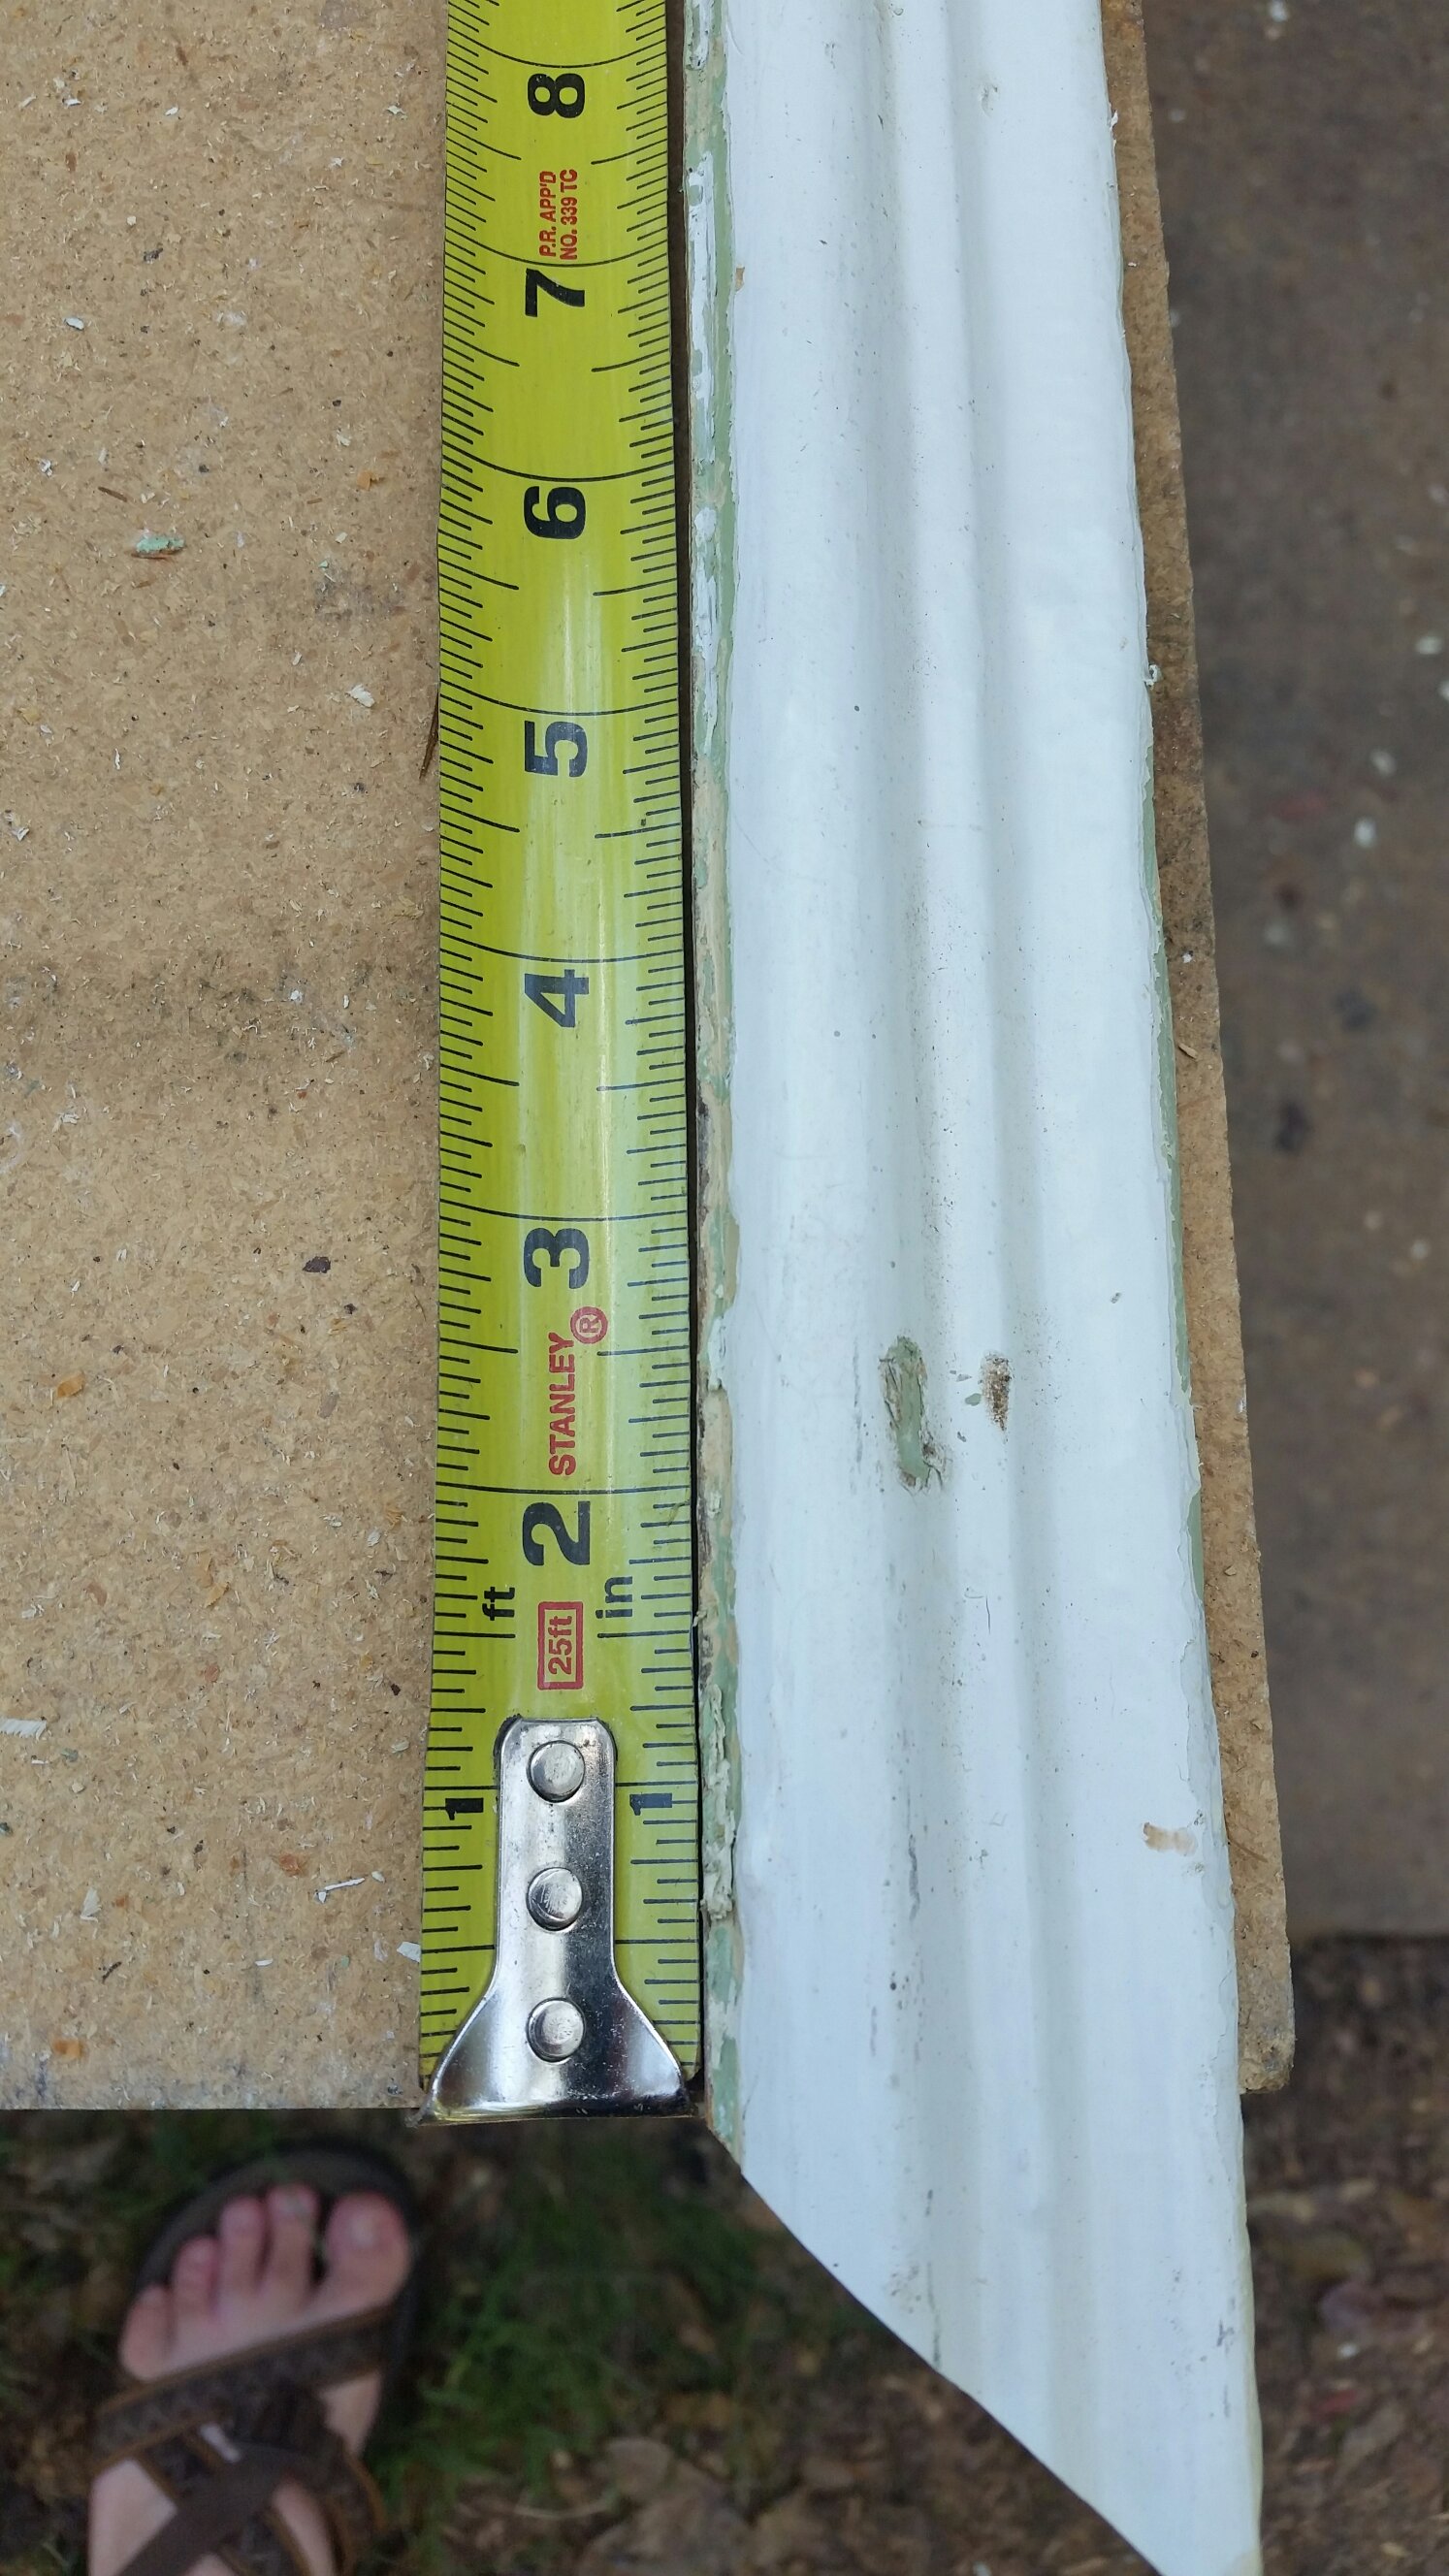
The next two photos show a trick I use to cut mitred pieces to correct length. Since the inner edge of the frame boards need to be the same length as the art piece, you’ve got to measure from the inside edge of the first mitre cut to mark the second. To make this easier, I hook my tape measure over the edge of my table, then line the inside edge of the molding up with the edge of the table. This is much easier and more precise that trying to hold the tape to that edge.

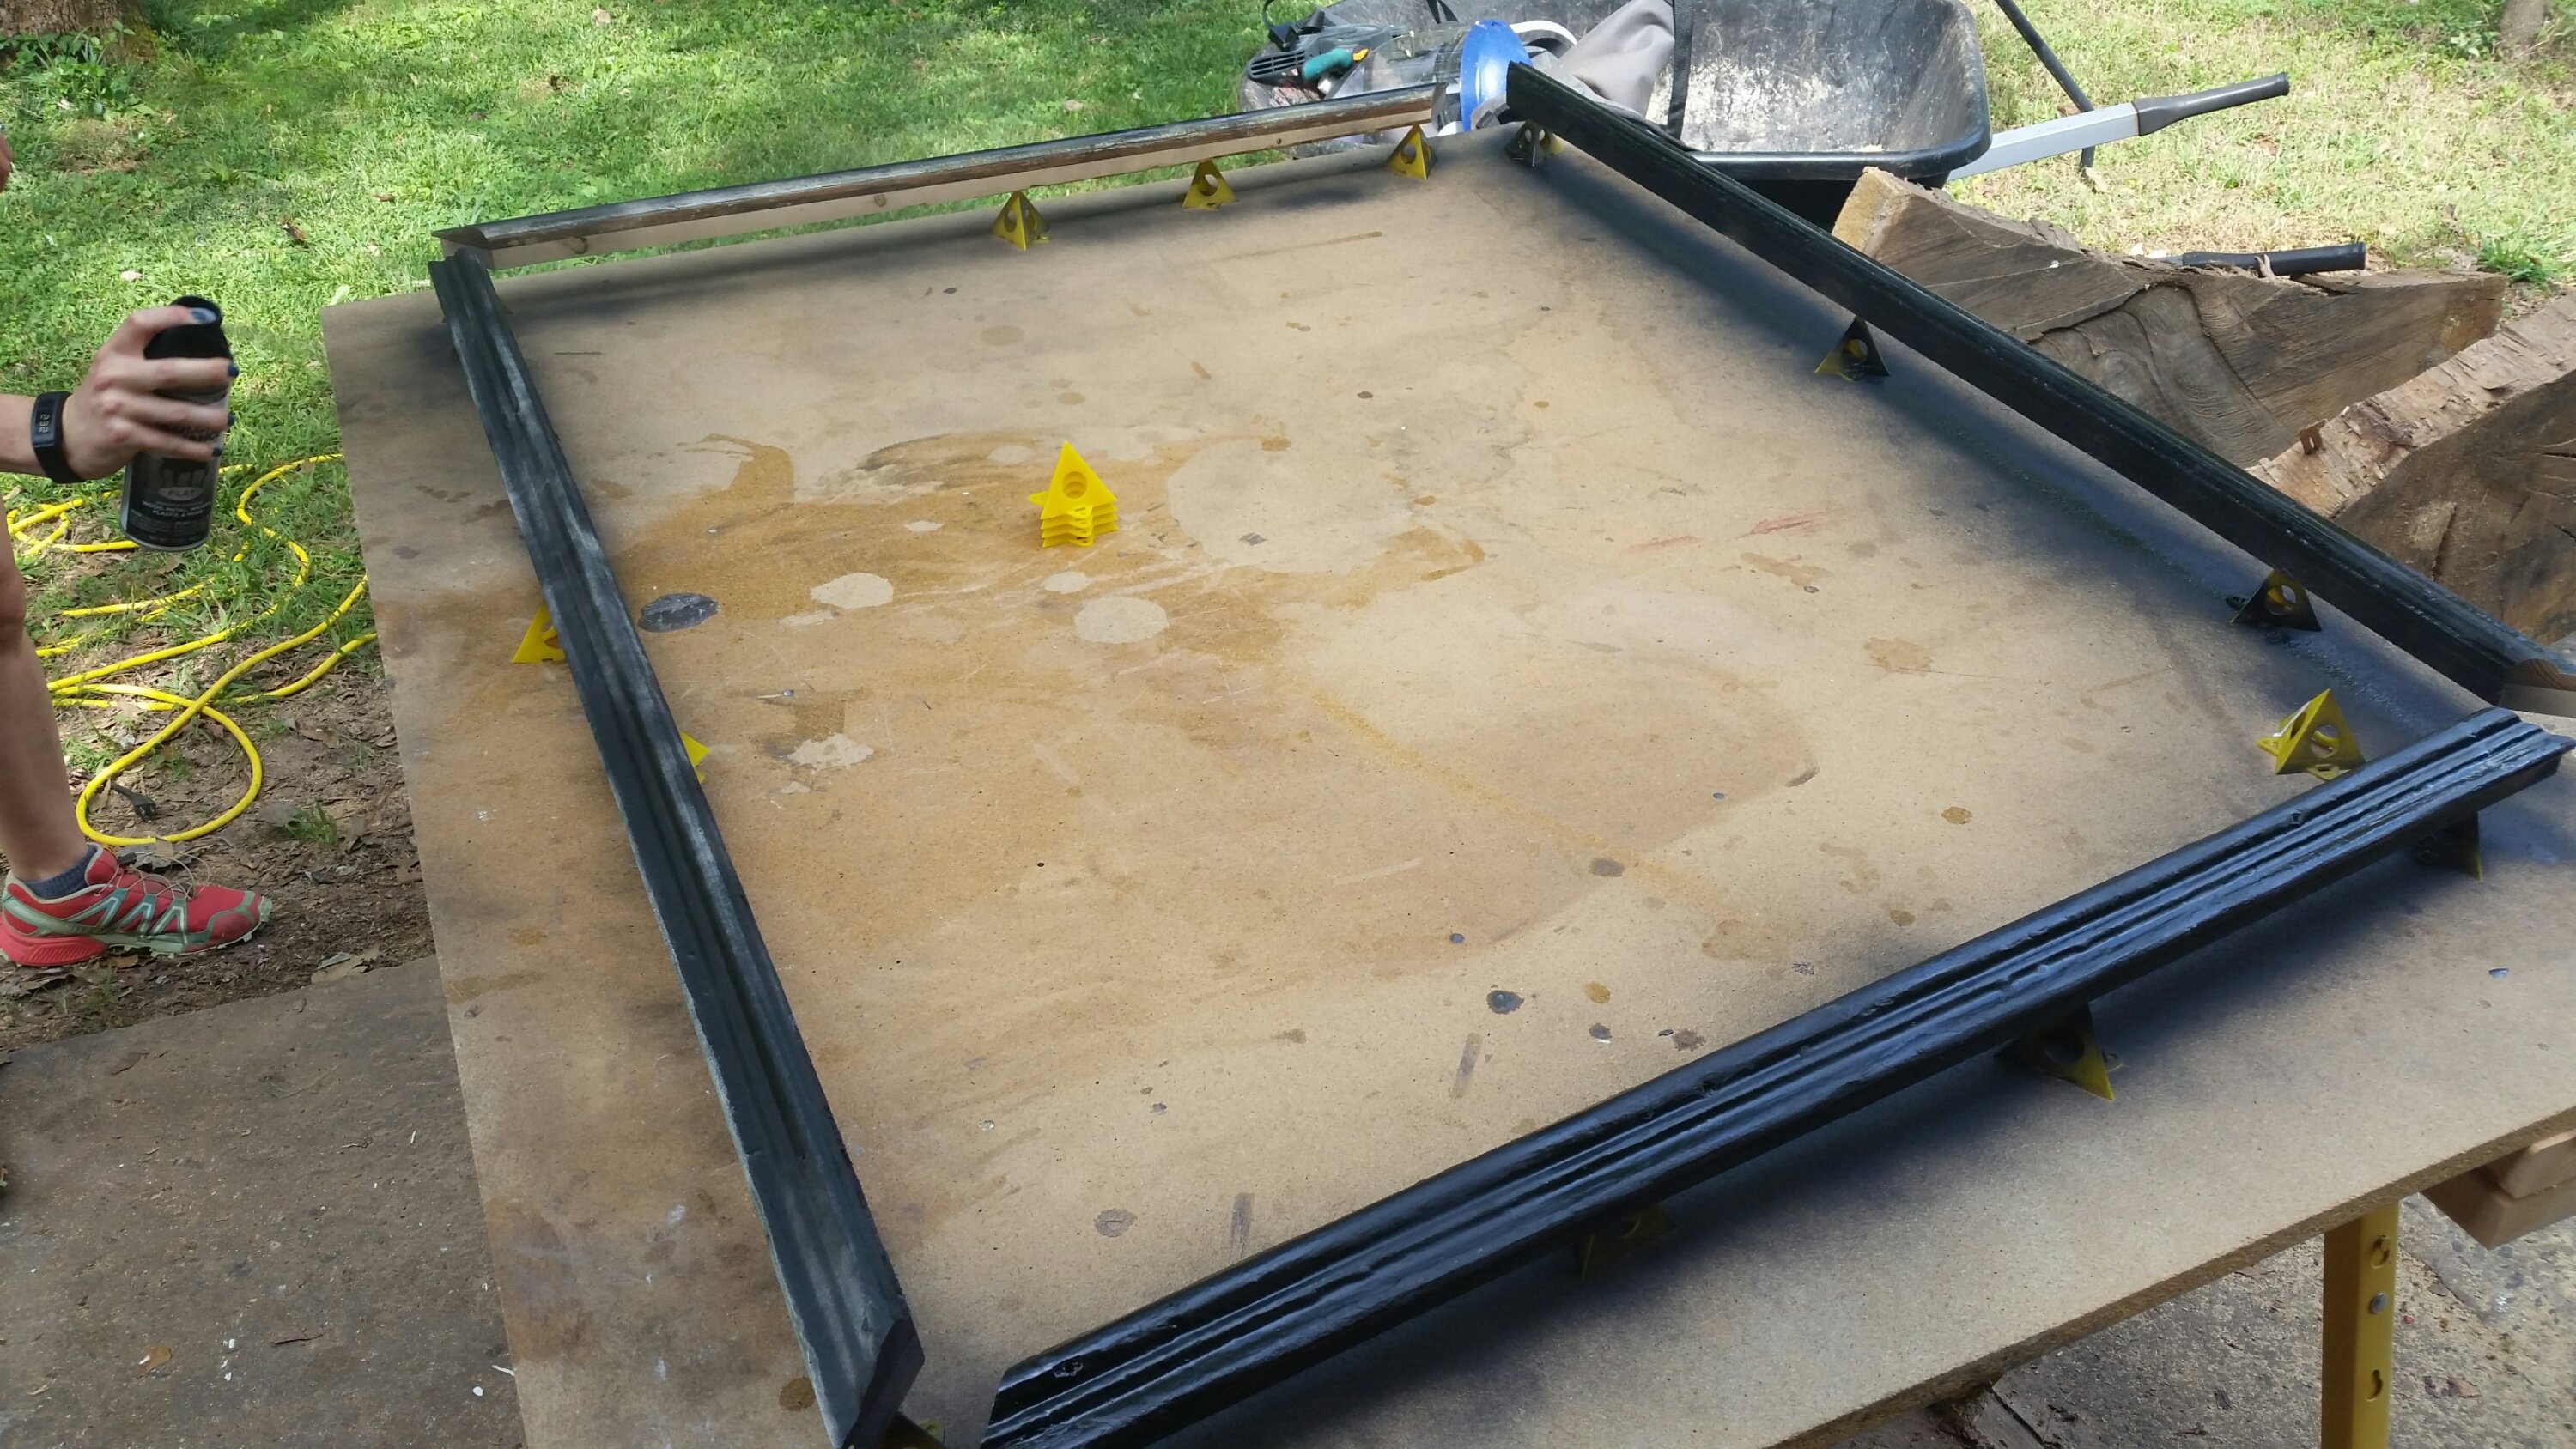
After all of the molding and pine stock had been cut, I laid it all out on the ground to make sure the edges were flush with the art. It was a good fit.
Next, I used clamps and screws to firmly attach the pine stock to the molding. Predrill holes from the back and use screws you’re SURE won’t reach all the way through. After attaching the pine and molding, I sanded the surfaces smooth with my random orbit sander and we spray painted the hole thing with a high quality flat black spray paint. Don’t buy the cheap stuff. If you don’t have them already, invest in some painter’s pyramids. The make painting so much easier.
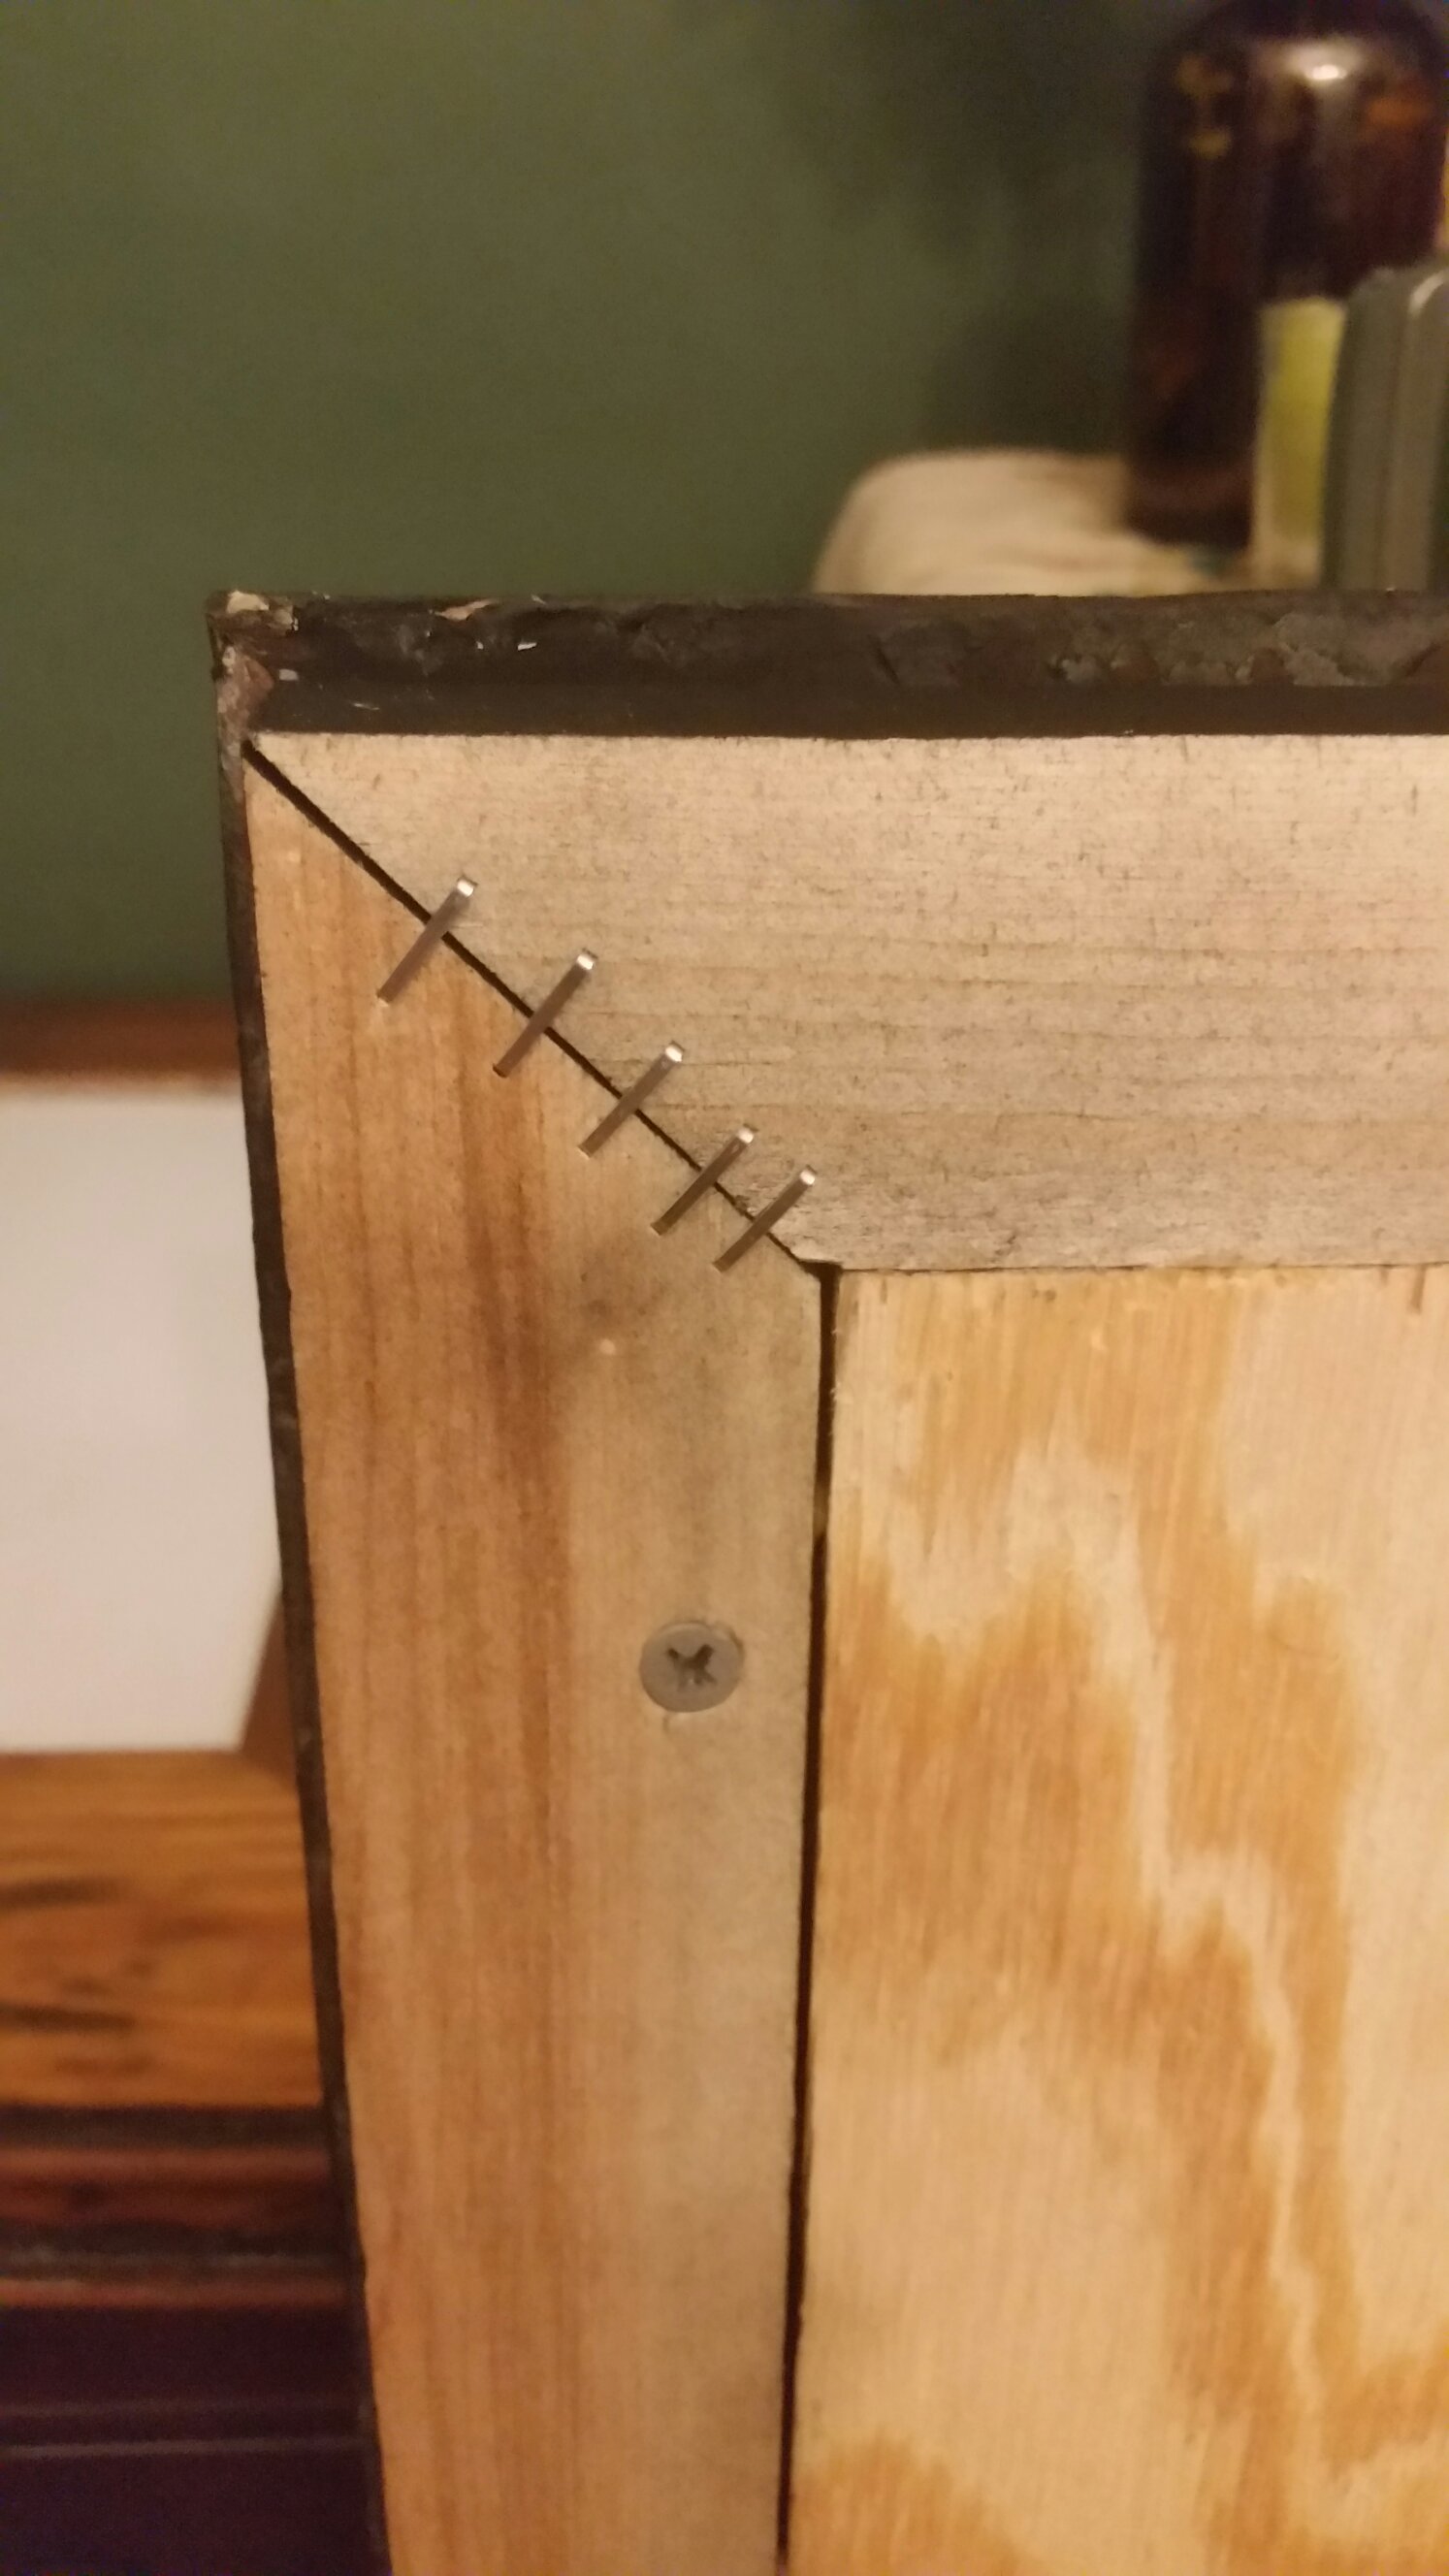
After the paint dried, and we got home from our Sunday afternoon hike, I glued the corners and used my band clamp to set the glue for an hour.

Next, I used a staple gun and 1/2″ staples on the corners and around the edges of the painting.
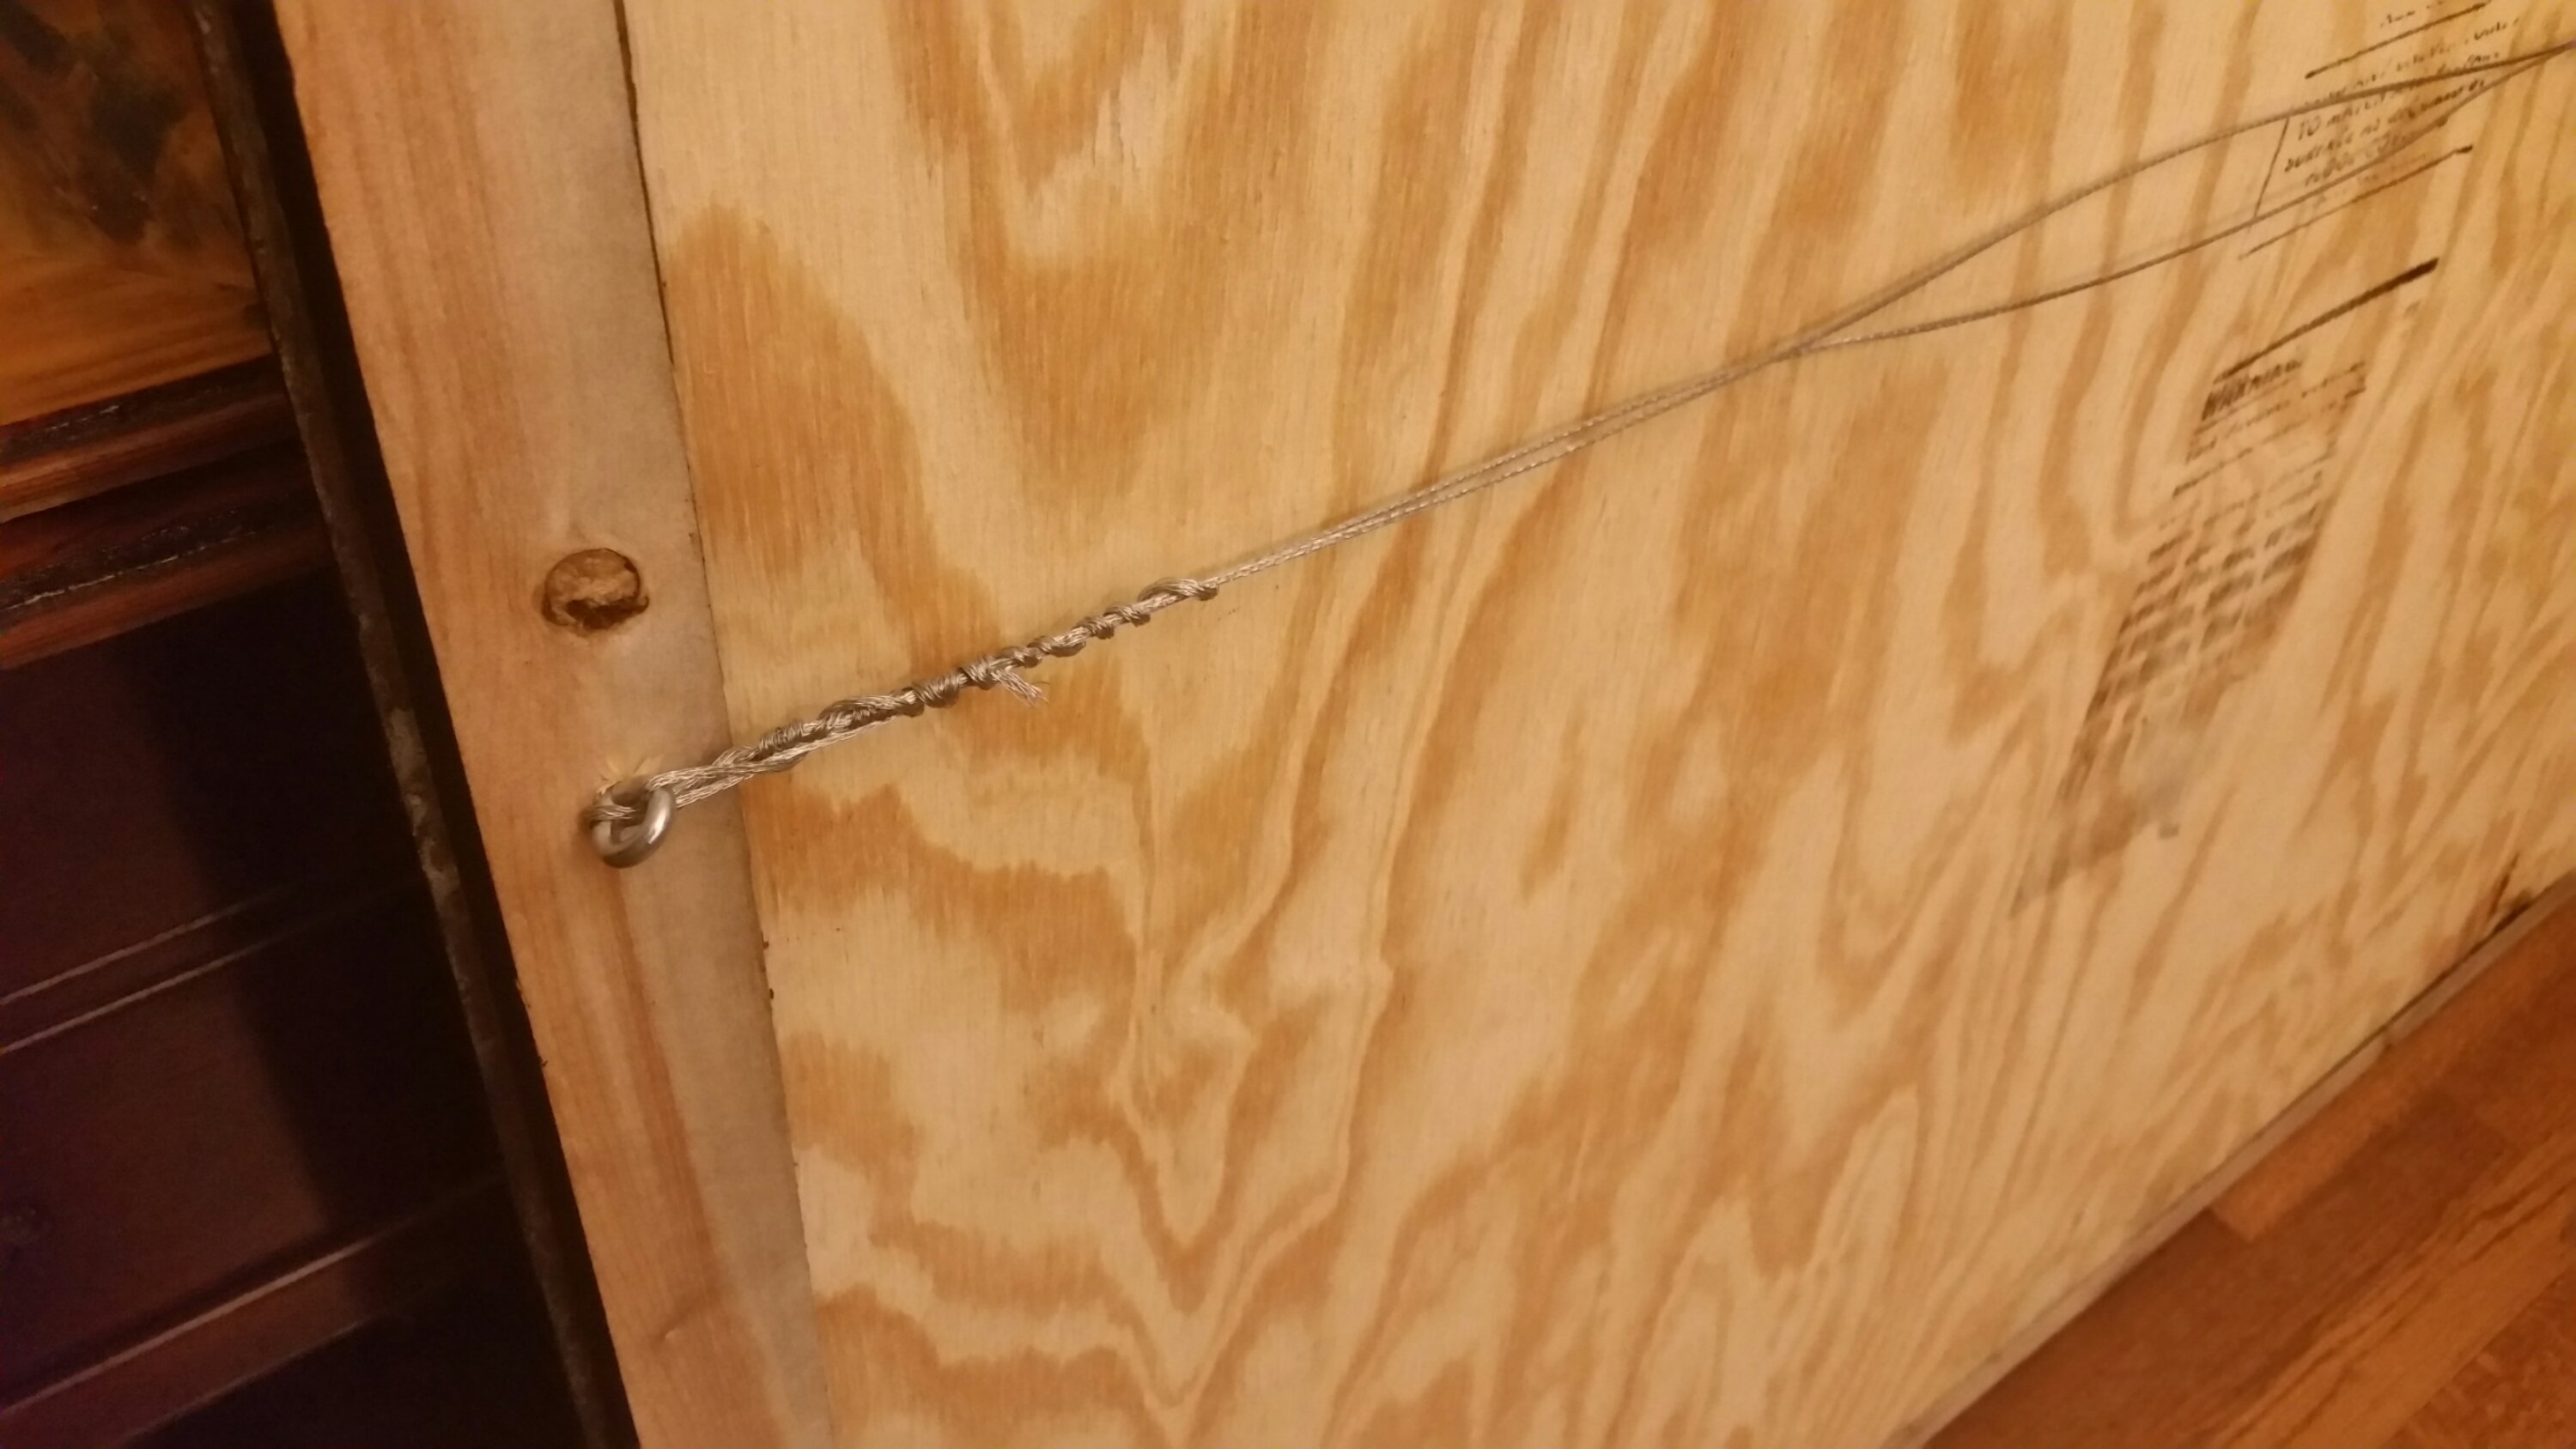
The final step was eyelet screws and framing wire.
Here it is hanging over the Hi-Fi.


