After I completed the seven foot tall heart pine shelf, Christy and I decided that we’d like to add a rack to hold wine glasses. We figured that there would be plenty of room between the shelves to dangle a few glasses and that it would look nice. We’d also be able to de-clutter the area behind our homemade bar. Rather than purchase a prefab rack, I decided to cut one out of another of the leftover stairs we had from the staircase below our house. The photo below shows the stair after sanding with 32-grit paper on a belt sander. Notice the tiny holes in the bottom center of the board. More on those later.
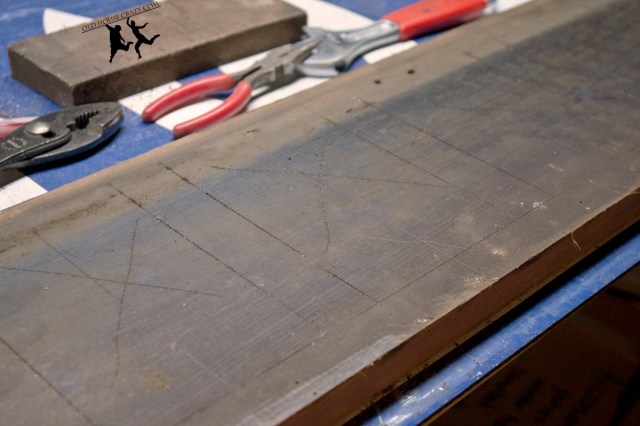
The first thing I needed to do was measure the board and carefully decide how many wine glass slots to use. I took a few of our glasses to the shop and decided that I could only fit six across the width of the shelf and still account for the possiblity of larger glasses in the future. Using this new info, I measured and scored marks in the top, unsanded, side of the board to guide my cuts with the router. I used large X’s to mark the areas of wood that would be cut out. These areas would be cut down halfway through the board and would be the part of the rack that the glass bottoms rest on. I later marked a second series of cuts that would go all the way through the board and would allow the glass stems to pass through the rack.
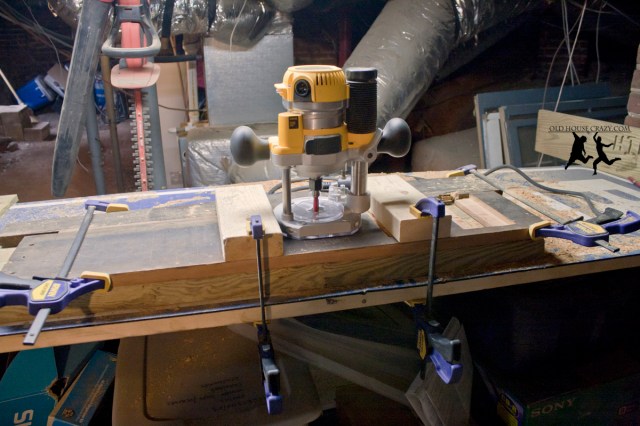
After all was laid out and double-checked, I began cutting. First, I made the cut straight through the board. At first, I just randomly picked to do this cut first, but later realized that, had I made the less deep cut first, I would have lost my guide marks for the through cut. Sometimes we just get lucky. You can see in the photo below that I placed the work piece on another board so that the router bit wouldn’t damage my work bench as it cut all the way through the work piece.
After cutting straight through, I changed the depth of the router bit and cut halfway through the board to complete the first wine glass slot. You’ll notice below that I clamped a second scrap of wood the the edge of my work piece. This prevented chunks of the wine rack from chipping out during routing.
Below you can see how I clamped scrap 2×4’s to the bench to guide my router while I made the cuts.
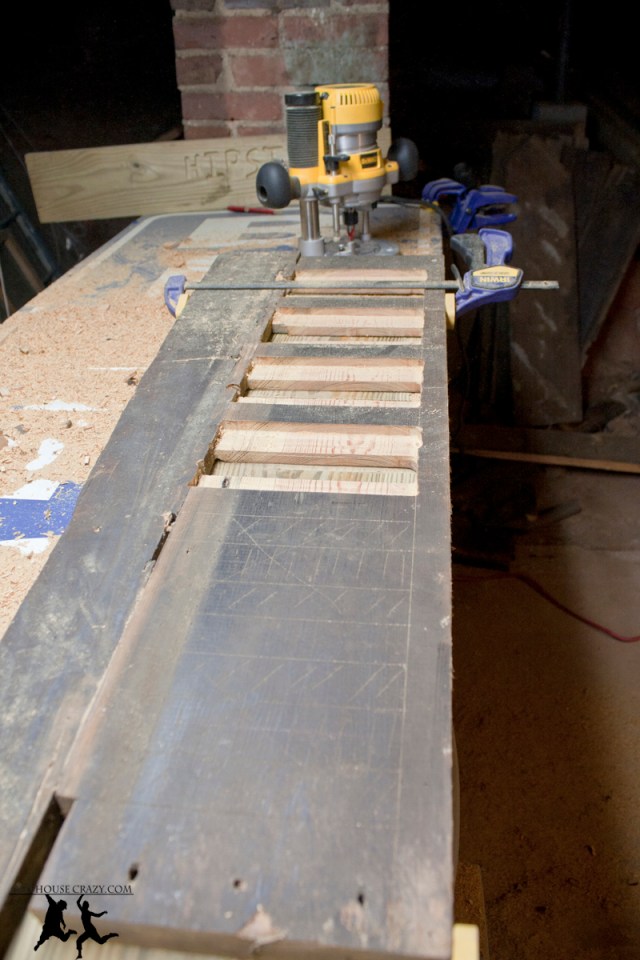
The first cut was the most stressful, as I wasn’t really sure how it’d all work out. After completing that cut, the rest went rather smoothly. In the photo below, I’ve finished four of the slots. You can also see the marking I used to guide my cuts.
Have you ever heard of wood boring beatles? These stairs were in the crawl space of our home for almost 100 years, and its not surprising that they were snacked upon by critters. Remember those tiny holes in the first photo of this post? Those are the entry points for wood boring beatles, which lay their eggs in wood. When the eggs hatch, the larvae eat through the boards and greatly decrease the structural integrety of the wood. The photo below shows some of the tunnels made by these tiny insects. Imagine if the boards supporting your house were filled with these tunnels. This is why it’s worth it to pay someone (or DIY) to spray your house extensively with insecticides for these little buggers (and termites). Luckily, the damage in this board was minimal.
After cutting all six slots, I sanded the edges and predrilled holes for the mounting screws.
Here’s the final product, installed and with glasses in place.
Thanks for reading. -Robby


Pingback: Reclaimed Heart Pine Farmhouse Table – DIY – Part 1 – Milling Old Lumber | Old House Crazy
Pingback: Woodworking Plans Wine Glass Rack – Ucok Wood Plans