

Christy and I have really started to pay attention to the food that we eat, not just to lose weight, but as a way to limit the chemicals, pesticides, and hormones that we put into our bodies. Out of that desire to eat well came the wild idea to raise our own backyard chicken flock for healthy, incredibly local, fresh eggs. We love eggs and have found about 6 million ways to use them, but the 4-5 dollars per dozen that we are charged for organic eggs is just too much for our budget. Plus, I think the best way to change the way food is produced is to produce it yourself. We can demand better standards from large factory farms, or we can speak with our wallets and buy from small local farms and grow as much of our own food as possible.


For the reasons discussed above, we ordered ten (yes 10) baby chicks from the nice folks at www.idealpoutry.com. They have their site set up so that you can order your chicks from a specific hatch date so that you can be sure to be ready for them by the time that they arrive. They are very clear about the fact that your chicks will arrive on a specific day so that you need to make arrangements to pick the chicks up at the post office that day. Otherwise, your baby chicks might perish in the shipping box. That would be very sad. All together, I think we paid 37 bucks for the 10 chicks and shipping. Considering that they’ll produce many hundreds of dollars of eggs each over the next few years, I think they are worth it.

Ideal Poultry gives you recommendations on their site of how to get ready for the baby chicks. There is also a huge amount of information on the web about how to prepare for your own chicks. I purchased a couple of books as well. If you’re interested in starting chicks, read up. There’s a lot that you can do wrong, but it’s really not that complicated to get it right. From here, I’ll explain what we did to get ready and show you more adorable photos of baby chicks.

I decided to build a brooder for the baby chicks so that they’d have a nice warm place to grow up for the first few weeks of their lives. I say decided, but really you must do this or they’ll all die from exposure. Since you, instead of a mother chicken, are raising the babies, you must have a really warm place for the chicks that imitates the underside of a mother chicken. This is accomplished using a heat lamp, which can be purchased at any pet store or Tractor Supply Co. From the photos above and below, you can see the brooder I built for the baby chicks and the heat lamp that is hanging a few inches above the brooder floor. I actually lowered it another few inches down from where it’s hanging in the photos so that the birds were warm enough. As they grow, you raise the lamp up a little each week so that the temperature gradually decreases to room temperature.
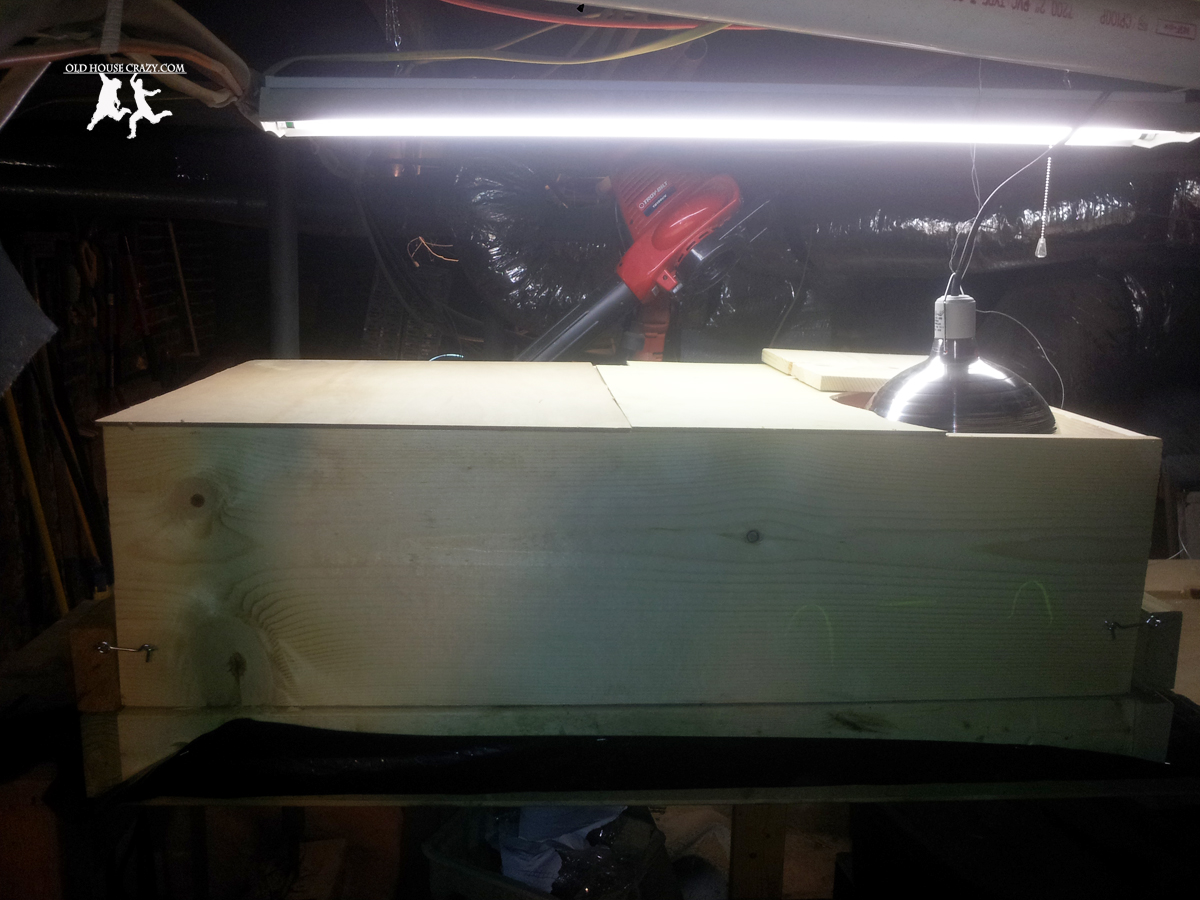
The brooder is constructed from a couple of 2×4’s and a single 8-foot 1″x12″ board. I built a frame of 2×4’s and stapled a piece of 1/4″ hardware cloth to the frame for use as the floor of the brooder. Around that, I built a box from the 1″x12″ board with one removable side, as shown in the photos. I scattered pine shavings, purchased from Tractor Supply, on the floor as bedding to absorb their waste and retain some of the heat. This whole thing sat on top of my work bench in the basement. Looking back, I don’t think I would do this indoors again. During the 6 weeks they were in the basement, the chickens produced a lot of poop and fluffy dust that coated the whole area. I’m just not sure it was all that sanitary.

Since Ideal Poultry tells you exactly when they are shipping your chicks, you can plan to pick the chicks up at the post office on exactly the right day. I got ours on Feb. 14th of this year and took them straight home to the brooder. Ideal packs the chicks into the shipping box almost immediately after they hatch and includes enough extra roosters to keep them all warm during their journey. They use the roosters as packing peanuts because the roosters have basically no financial value to a company that sells hens for eggs. I raised our seven extra roosters for 4 weeks and then gave them to a neighbor that will raise them to maturity for meat. If that’s weird or sad to you, I’m sorry. That’s where meat comes from.

When I got the birds home to the brooder, I took each out of the box, one at a time. Before placing each bird under the heat lamp, I dipped their beaks into the waterer so that they knew where to get their water from. Every resource I looked at told me to do this. I guess they have trouble figuring this out if you don’t show them. Once they were all out of the box, they huddled together on their shaky legs under the heat lamp for a good ten minutes before any of them started to adventure out. Apparently, you know your setup is good if the birds go from the heatlamp to the food or water and back on the regular. If they hang out too much under the heat lamp, it’s too cold in your brooder. If they never go under the lamp, it’s too hot.
Once all of the chicks were happy under the heat lamp and knew where to find food and water, we didn’t have much else to do except watch them for the next six weeks. We had to fill up their waterer twice per day because they are amazingly adept at scratching pine shavings into their water. They also eat an incredible amount of food, so the feeder got filled up twice per day as well. The babies are a good deal of work during those first few weeks. We also had to change out the pine shavings every few days as they poop more than you’d think.
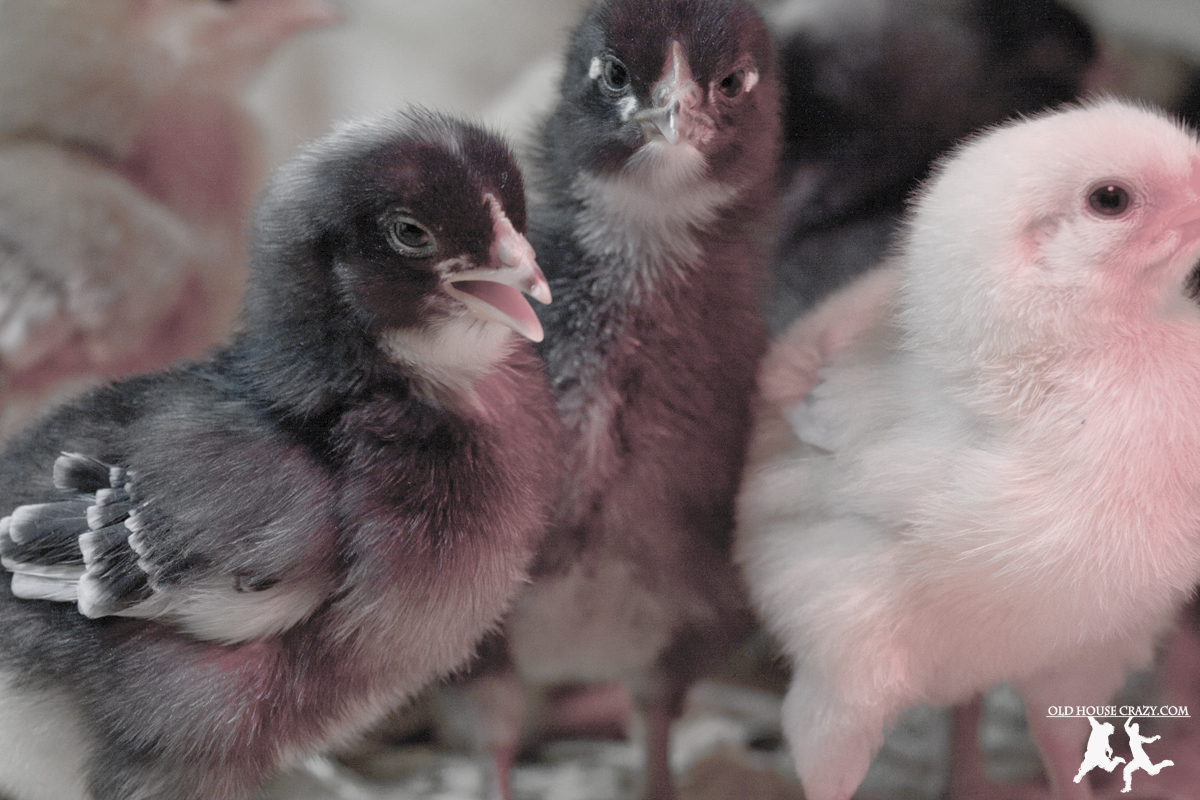

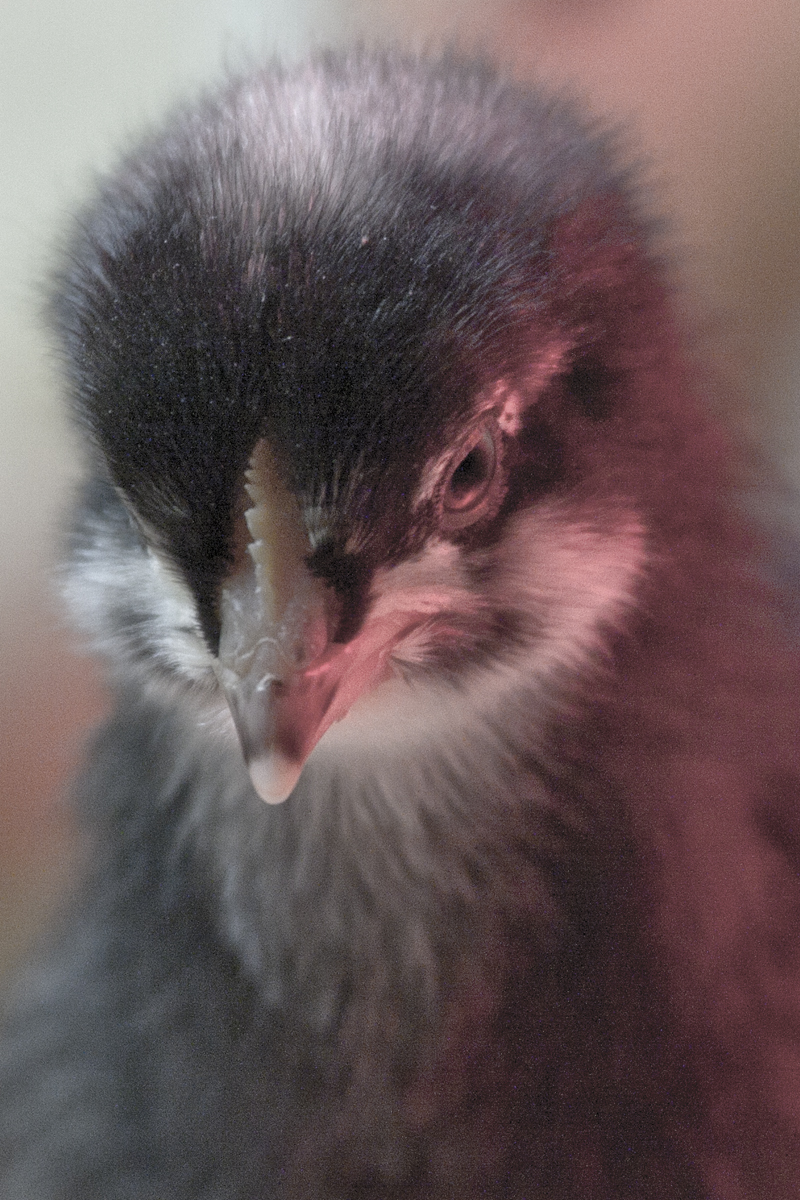
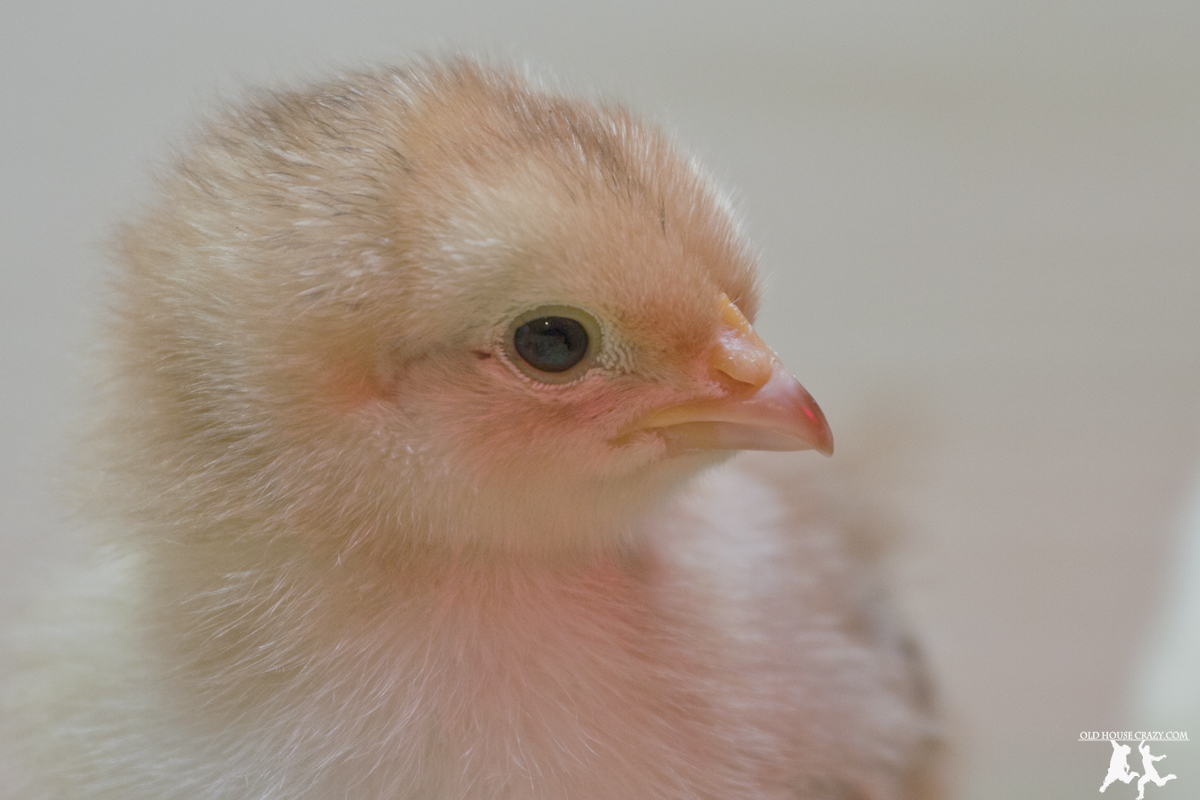
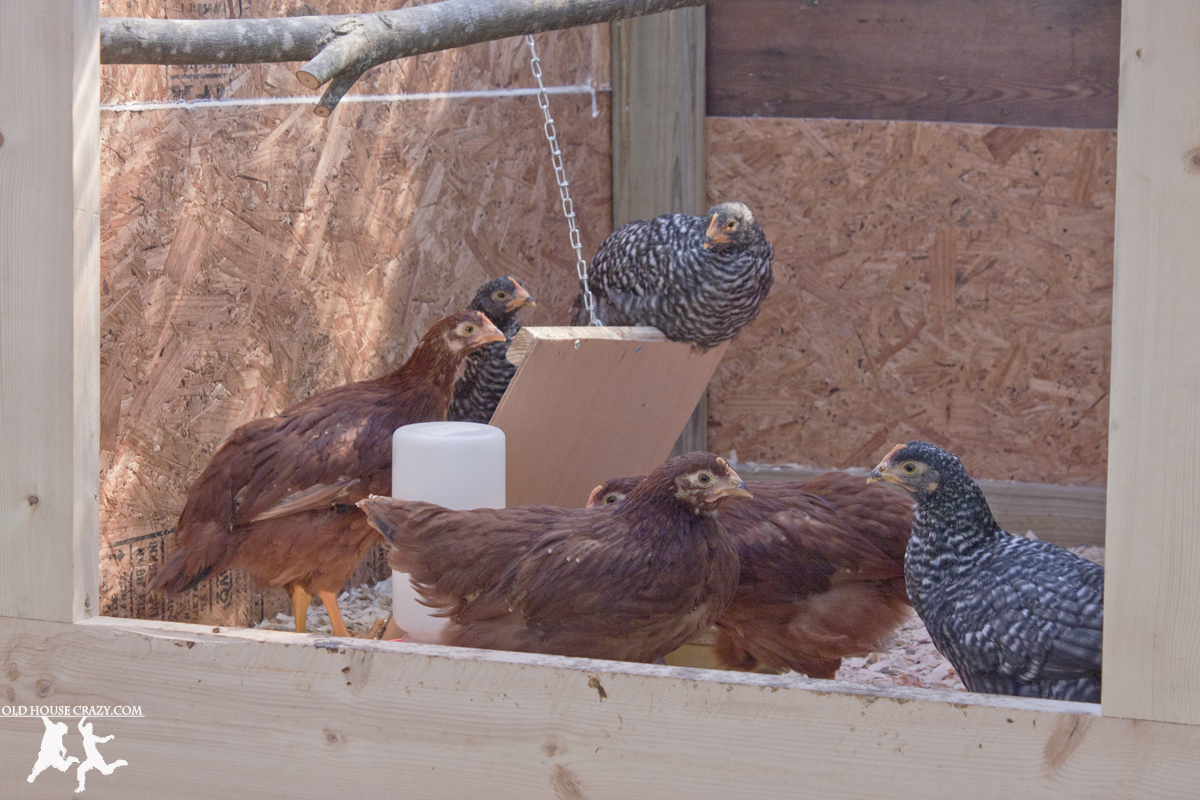
Looking through all of the photos included with this post, you can see black chicks, light brown chicks, and yellow chicks. The black chicks are Plymouth Barred Rocks. The light brown chicks are Rhode Island Reds. The yellow chicks are the roosters that we gave away. The photo below shows our Rhode Island Reds and Barred Rocks after 10 weeks in their new home, the chicken coop. I’ll write a post soon about building that coop and the fun that these chickens have provided to our little urban homestead.
Lastly, here’s a video of the baby chicks, cheep cheeping away. Thanks for reading. -Robby
