So. . The House isn’t Always Level

image

We started rearranging the office this morning and found that the far side of the room is all wonky. We actually already knew this: We found major (old and inactive) termite damage in the front of the house while scraping paint a few years ago. The sill plate was so badly damaged, the weight of the house crushed the plate and it dropped a full five inches. We had a crew do full repairs but opted not to jack the house back up for fear of damaging the walls and roof that had settled. Upon moving the desk this morning, we have our first furniture placement that makes the slant noticeable.

Here’s to shims:

image

Happy Sunday. Stay warm out there during this crazy cold snap.

Posted in Uncategorized | 1 Comment

Winter Recipe | Hearty Ham and Bean Soup

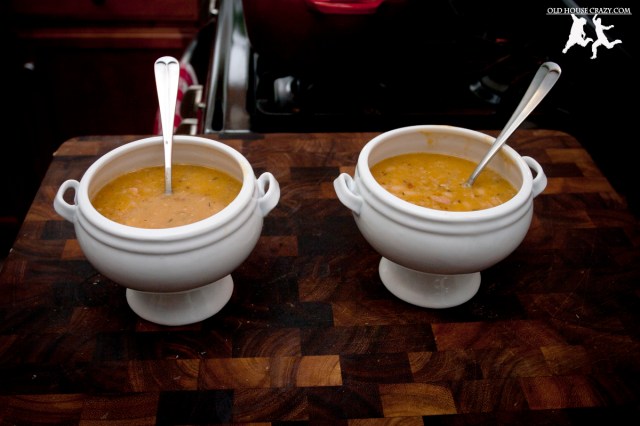
Well, if you haven’t heard, everyone in metro Atlanta is currently buying all the bread, milk, and eggs after hearing the weather forecast for next week. Monday will have a low temperature of FIVE degrees. It’s not that cold today, but I want nothing more than to drink hot tea and slurp hot soup all day. To prep for next week’s possible lock-in during Snowpocalypse Part II, I decided to make a pot of hearty soup that will be easy and quick to heat up for a hot meal.

White Beans for Soup

Ham and Bean Soup Ingredients

Since we have an abundance of smoked ham in our fridge, I went with ham and bean soup. We already had all of the other ingredients, so this cost us zero dollars today (yeah!). If we had to buy everything, I estimate a total cost of $7-10 to make a pot (about 8 servings). That’s pretty darn inexpensive for a healthy, hearty meal.

Ingredients
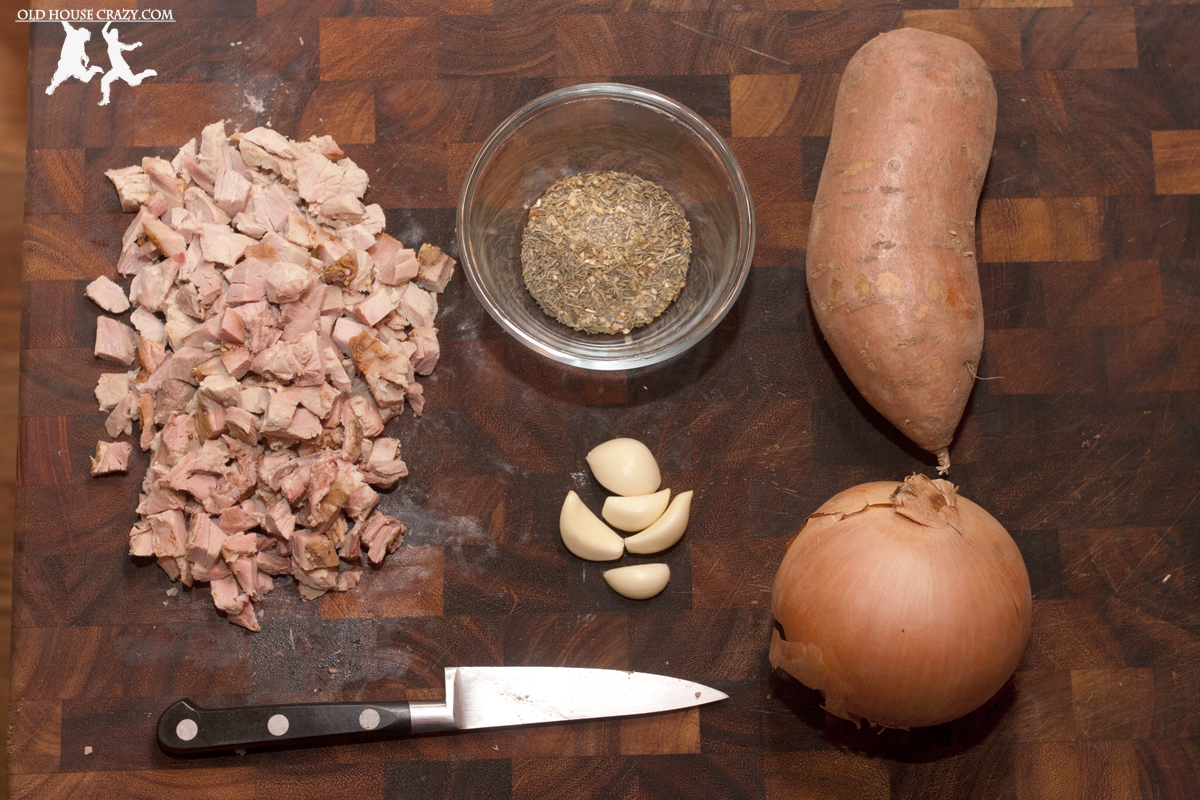
1 medium onion, coarsely chopped
2-3 garlic cloves, finely chopped
Roughly 1/2 lb smoked ham, chopped
6 cups of stock*
1 sweet potato, peeled and diced
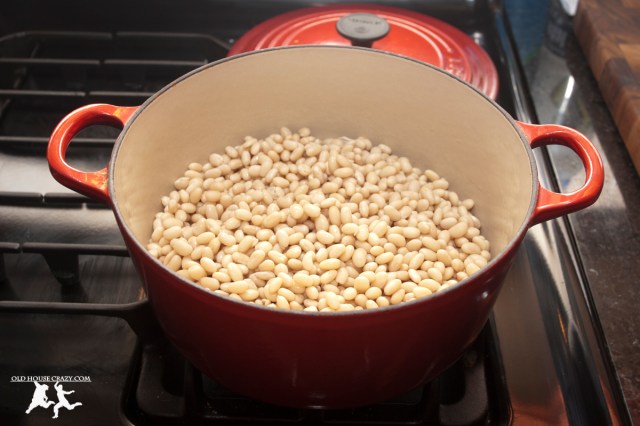
1 lb of white beans
Salt
Black pepper
Herbs de provence
Thyme
Oregano

*I used a homemade venison stock. You could use any homemade or store bought meat or veggie version.

Special Tools
Immersion blender
Potato masher

Bean and Ham Soup Ingredients

If using dry beans, soak them overnight.  Drain in the morning. Add the stock, onion, garlic, and seasoning (to your taste) to the pot, and cook on medium heat for 30 minutes. Depending on how salty your ham is, you’ll need to adjust your measure of salt to get the final taste just right.

While the soup base cooks, steam or roast the sweet potato chunks to soften them (microwaving in 1/2 inch of water for 5 minutes does the trick). Mash with a potato masher and transfer to a bowl.

Immersion Blended Veggies

Scoop out about half of the soup base, and add it to the bowl with the mashed sweet potato. Be sure to get an even mix of beans, onion, and broth. Use the immersion blender to puree the mixture. You may need to add more broth if it thickens too quickly while blending (my immersion blender is temperamental when there’s not enough liquid). Once everything is blended together, add it back in to the pot with the beans and seasoned broth, add in your chopped ham, and allow it to cook together until the beans are softened to your preference.

Happy New Year, friends. Stay warm out there!

Ham and Bean Soup Footed Bowl

Posted in Better than store bought, Dinner, Food, Healthy Eating, Home made | Tagged , , , | Leave a comment

Make a Chalkboard Menu for Your Freezer – DIY – Organize Your Life

Old House Crazy - DIY - Organizing - Make a Chalkboard Menu for Your Freezer - 13

Cost, Time, and Skills:

For this project, I used a thin piece of oak plywood ($10-$20) leftover from our stereo console rebuild, some chalkboard paint ($10 for a quart), and some cedar 1×2 lumber ($5-$10) for the frame. I used a router with a straight bit, clamps, a power drill/driver, and a circular saw. You could easily make your chalkboard without the frame and have your hardware store cut the plywood for you. This way, you won’t need ANY power tools. You could also simply paint an existing frame with chalkboard paint and this becomes a super easy project! As shown, this project took me 1-2 hours of work with several hours waiting for paint and primer to dry.

Old House Crazy - DIY - Organizing - Make a Chalkboard Menu for Your Freezer - 01

I had this piece of 1/4″ oak plywood leftover from our stereo console rebuild.

The Story:

Last year, Christy’s parents gave us a chest freezer for Christmas. One of the ways we like to save money and still eat well is to cook large cuts of meat and freeze meal-sized portions. This allows us to have tasty lunches and dinners during the work week without the effort a ham or roast beef would take. The chest freezer was a perfect gift because it allowed us more space to store our portions.

Old House Crazy - DIY - Organizing - Make a Chalkboard Menu for Your Freezer - 02

I cut the plywood to the size of the wall behind our freezer. You can make yours whatever size you want. That’s the great thing about making your own stuff.

The only problem with chest freezers is that you can easily lose food down in the cold darkness at the bottom. It really stinks when you find that last package of filets or chicken that you forgot you had and it’s all freezer-burned and gross. If only we had a way to keep track of all of the food that goes into the freezer. Enter the chalkboard menu.

Old House Crazy - DIY - Organizing - Make a Chalkboard Menu for Your Freezer - 03

I painted the plywood with a couple coats of primer before painting it with the chalkboard paint.

Instructions:

I began by cutting a piece of 1/4″ oak plywood into the dimensions of the wall above our chest freezer, minus space for the 2″ cedar frame I was going to put around the chalkboard. I sanded the front of the plywood and painted on a coat of primer before starting on the frame. The rest of the steps are found in the captions of the following photos.

Old House Crazy - DIY - Organizing - Make a Chalkboard Menu for Your Freezer - 04

I started the frame by clamping a cedar 1×2 to the edge of my workbench.

Old House Crazy - DIY - Organizing - Make a Chalkboard Menu for Your Freezer - 05

I cut out a groove in the side of the cedar 1×2 using a straight cutting bit and my router. When the frame is assembled, the oak panel will sit in the groove.

Old House Crazy - DIY - Organizing - Make a Chalkboard Menu for Your Freezer - 06

Here’s the groove.

Old House Crazy - DIY - Organizing - Make a Chalkboard Menu for Your Freezer - 08

I used a mitre saw to cut 45 degree angles in the cedar boards.

Old House Crazy - DIY - Organizing - Make a Chalkboard Menu for Your Freezer - 09

To assemble the frame, I clamped the corners, drilled pilot holes, and tapped in nails to hold the corners together.

Old House Crazy - DIY - Organizing - Make a Chalkboard Menu for Your Freezer - 10

Here’s the assembled frame. You can see the groove sized to hold the piece of oak plywood.

Old House Crazy - DIY - Organizing - Make a Chalkboard Menu for Your Freezer - 11

I placed the plywood into the groove and attached it using short wood screws.

Old House Crazy - DIY - Organizing - Make a Chalkboard Menu for Your Freezer - 12

The chalkboard menu attaches to the wall like any other photo or framed artwork.

In the months since we started using this chalkboard, we’ve done a much better job of planning meals and keeping track of what we’ve got in there. The hardest part is remembering to erase items from the chalkboard after you remove them from the freezer or changing the quantity. I hope this project is helpful to you as you look for ways to simplify your life. If you’ve got any questions or comments, leave them below or shoot us an email at oldhousecrazy@gmail.com. Thanks for reading. -Robby

Posted in Better than store bought, DIY, Food, Home Built, Home made, Painting, Recipes, Tools and Techniques, Woodworking | Tagged , , , , , , , , , , , , | 1 Comment